Bushcraft – The art of living in the wood

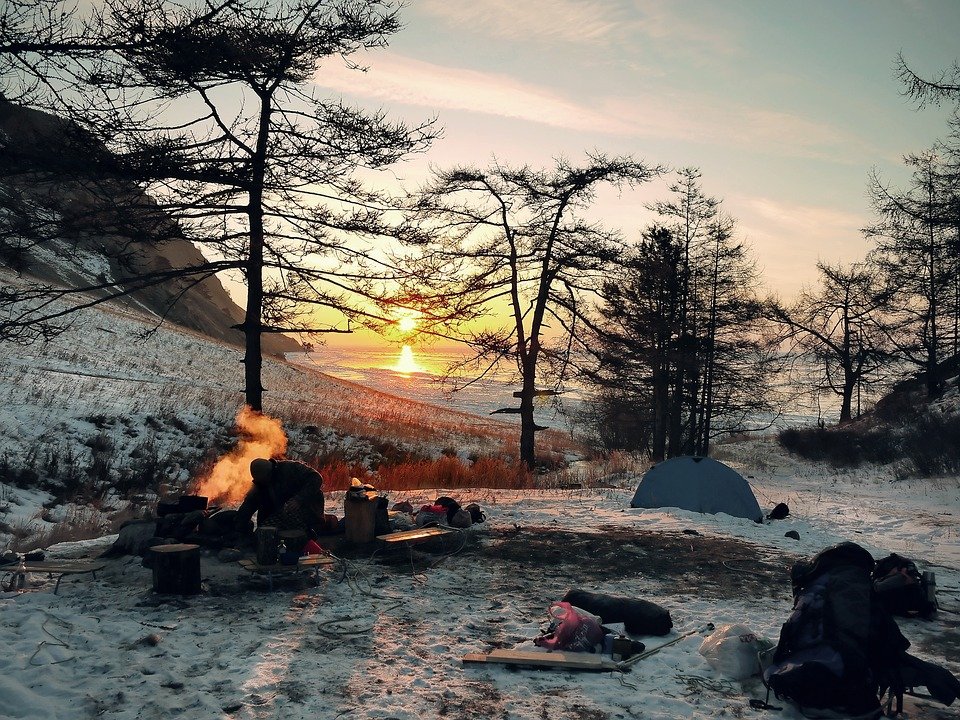
We can define bushcraft as “the art of living in the woods”, that’s the set of knowledge and expedients that allow us to build and realize what you need to manage to get by outdoors.
From lighting a fire without matches to building a shelter, from purifying water to knowing how to choose the right equipment to bring with you.
Here are some basics, learned during my experience in a bushcamp with Marco and Daniele, that opened up a world to me.
Let’s specify that “bushcraft” is very different from “survival”.
The main difference lies in the fact that survival techniques, which can coincide with bushcraft’s ones, are used to get out of situations that happens and which can guarantee our survival.
The bushcraft instead consist in spend one or more days in the woods, with the intention to use these techniques, to take advantage of a lighter backpack, to live a more “wild” experience, because we enjoy the idea of building a shed instead of sleeping in a tent (hence the name bush-craft).
So, let’s consider leaving home with the desire to create the tools and objects that we lack to live a couple of days in close contact with nature and let’s go.
1) The equipment
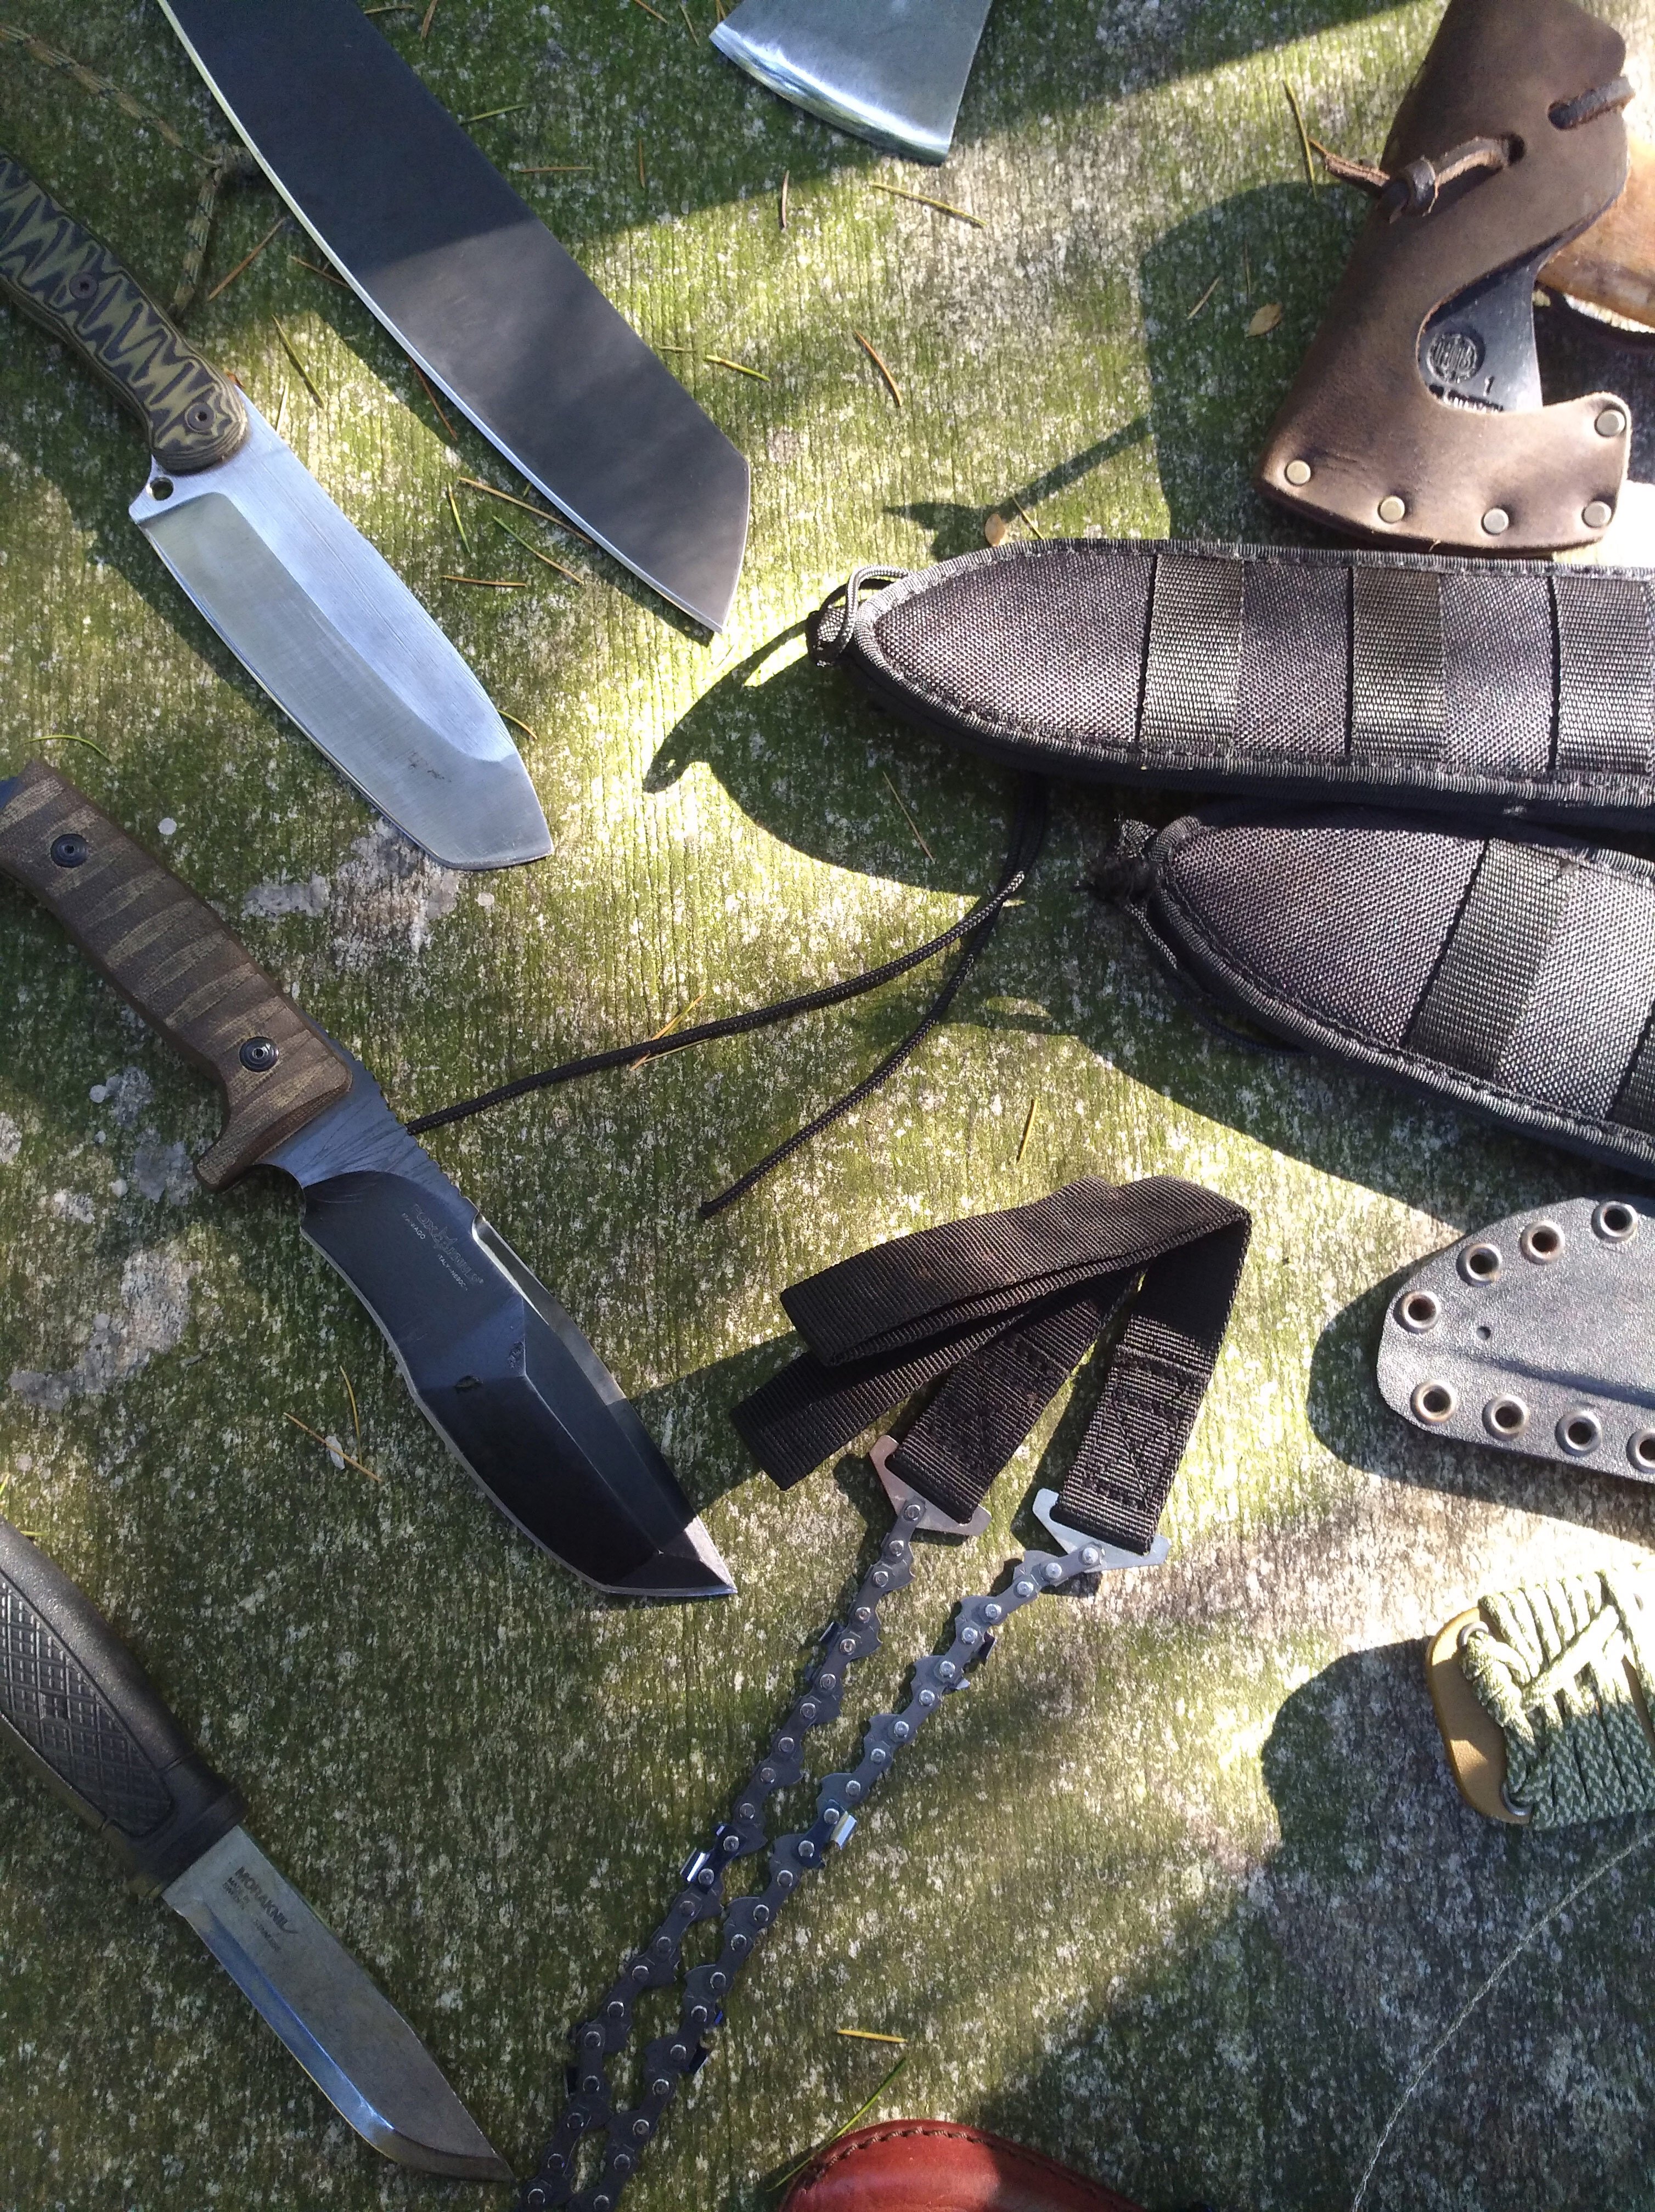
First of all, select what you need, considering weight and space it occupies. For example, we advise you to bring:
- water
- food
- a whistle
- a charged torch
- appropriate clothing depending on weather conditions and the environment
- knife
- hacksaw (better if a foldable one)
- other tools to build / create what you need, like a sharpener.
Depending on the level of “comfort” that you want to have, you’ll bring more or less tools, a tent and a sleeping bag, pots and stove, etc …
A vital advice: the tools must be adequate to the needs. To go into the wood you don’t need a machete. Smaller knives are better because they are easier to handle, they weigh less, they take up less space and are more versatile.
2) How to sharpen a blade
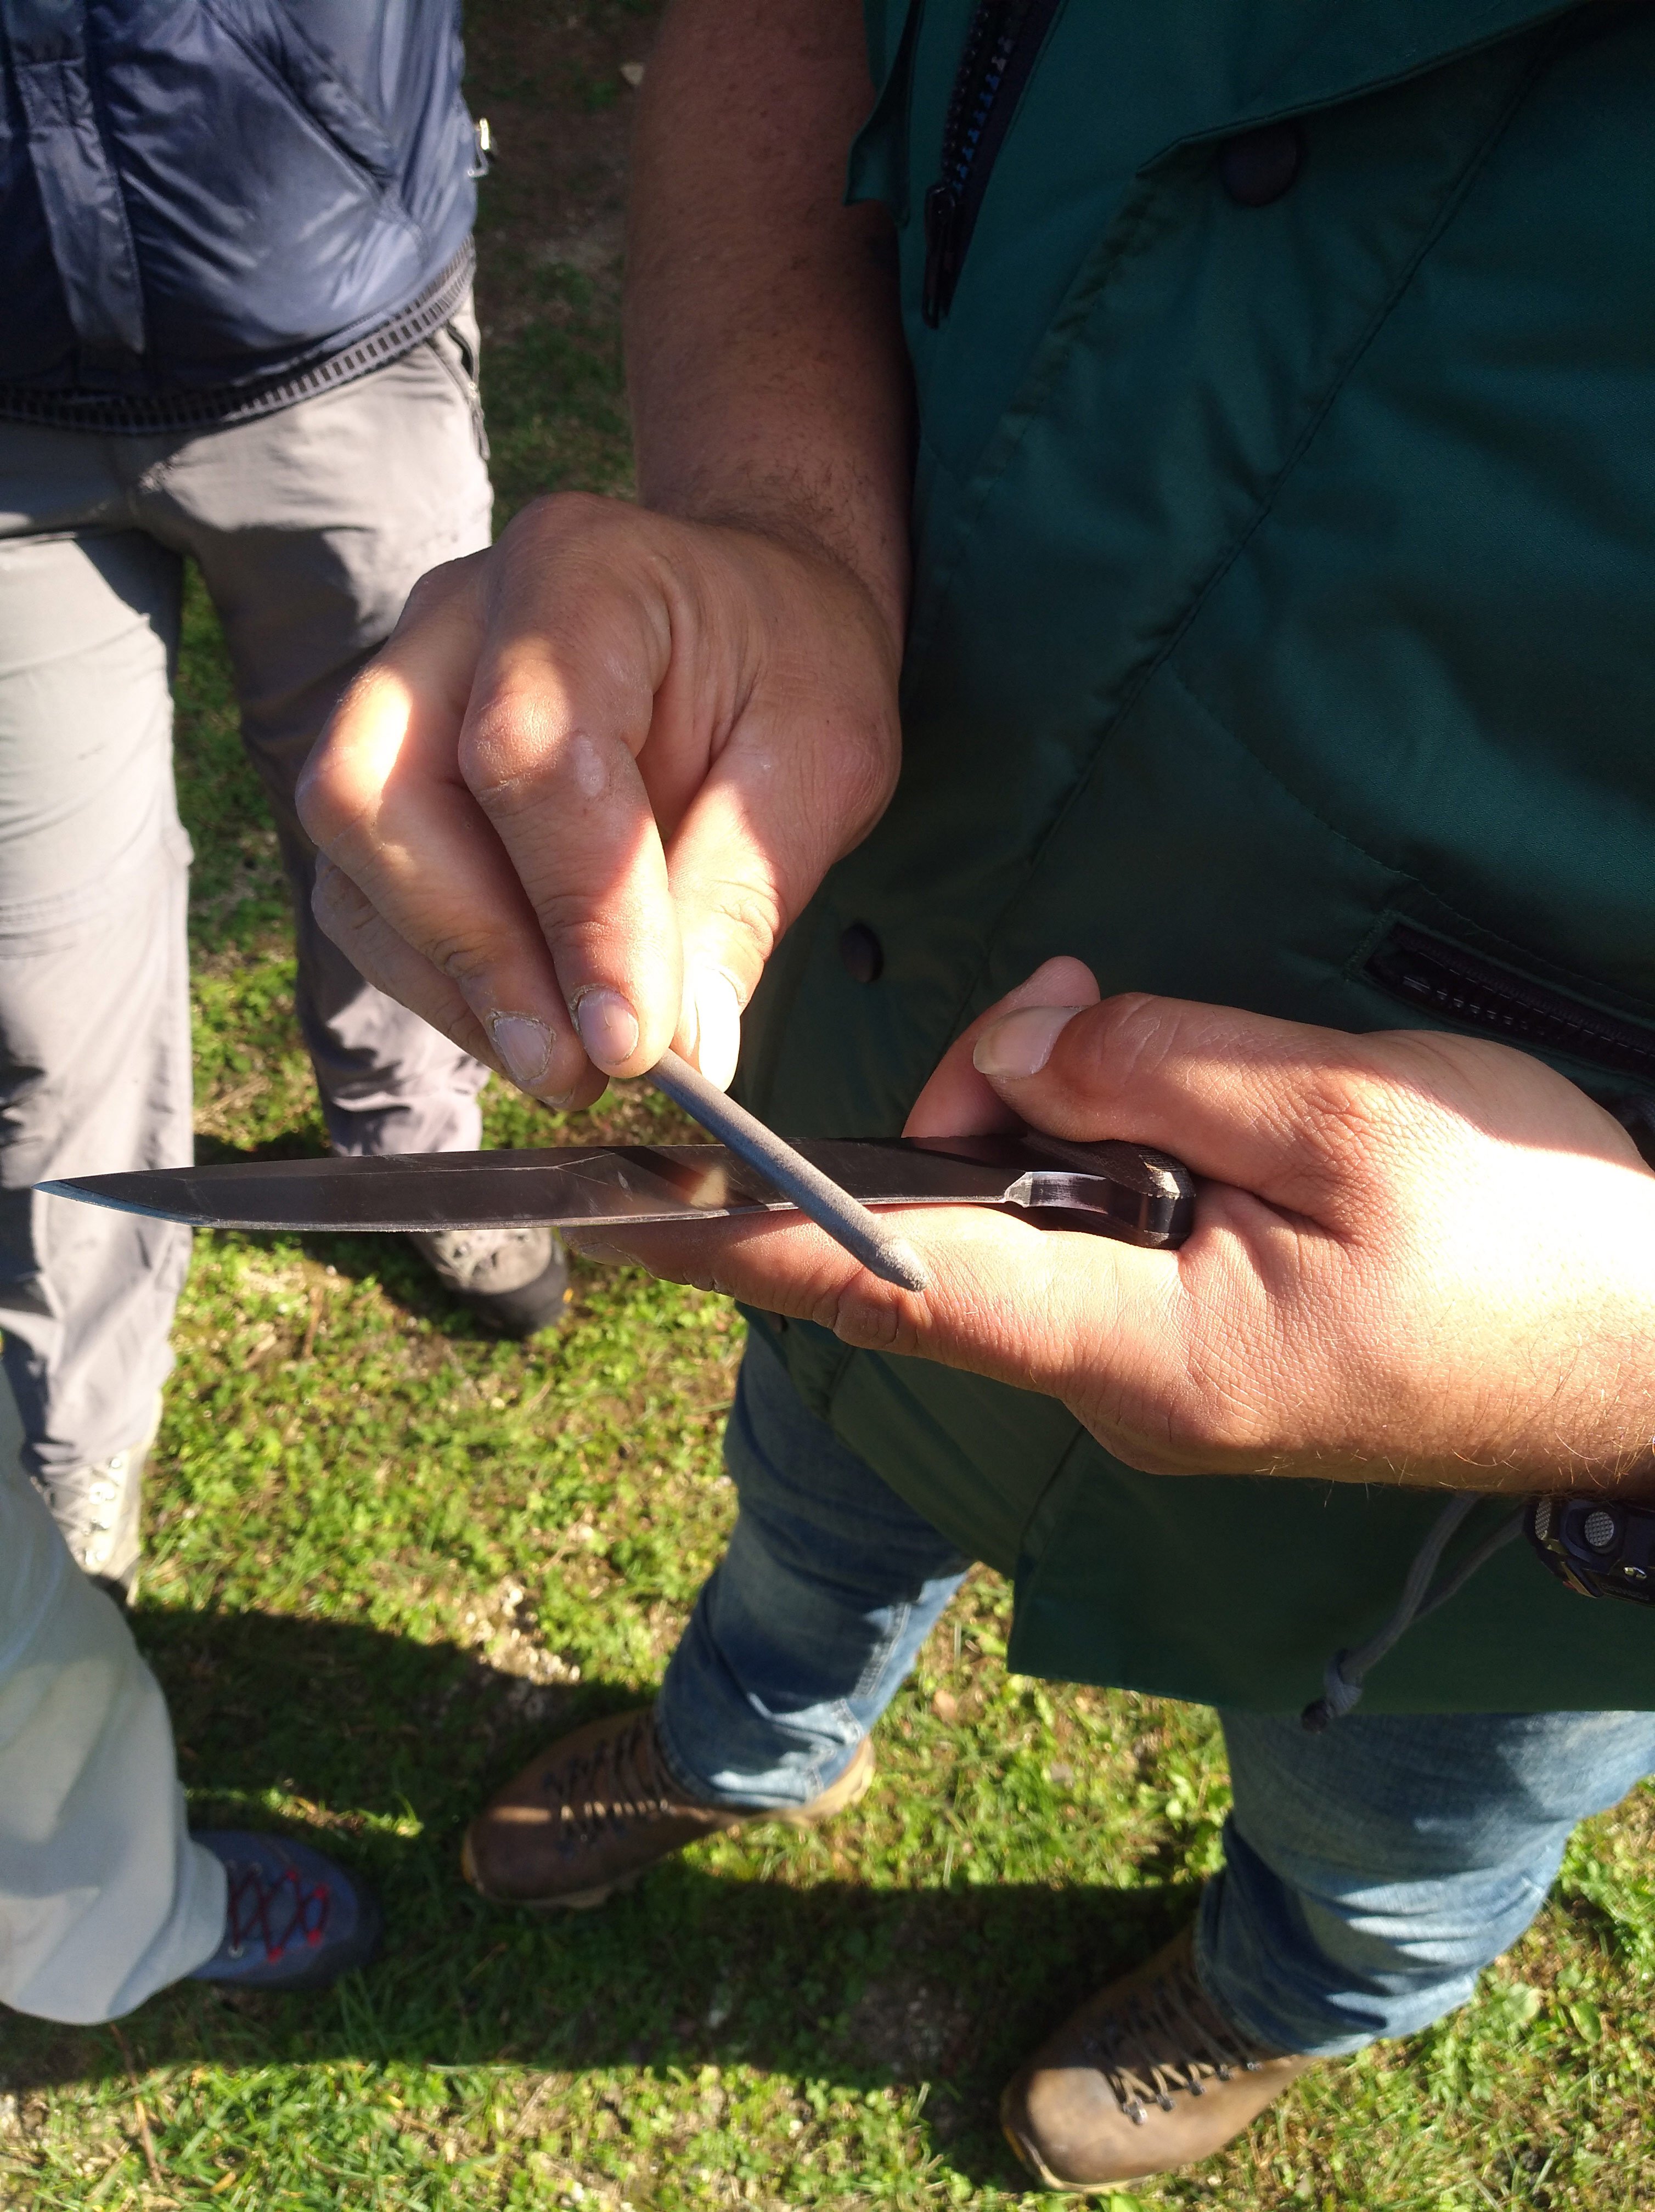
The tools we bring with us must be kept in the best conditions to be functional.
The knives, in particular, are useless if they don’t cut. But if we stay out for quite a long time, blades can lose the sharpness.
To sharpen a blade, we can use a sharpener, but also a flat and wet stone.
You just have to hold the right inclination, the same as the edge of the blade and rub the instrument in a circular motion. Once you’ve gained a long-standing experience, you’ll feel that you are giving the right inclination from the sound, very melodious.
3) How to use a knife
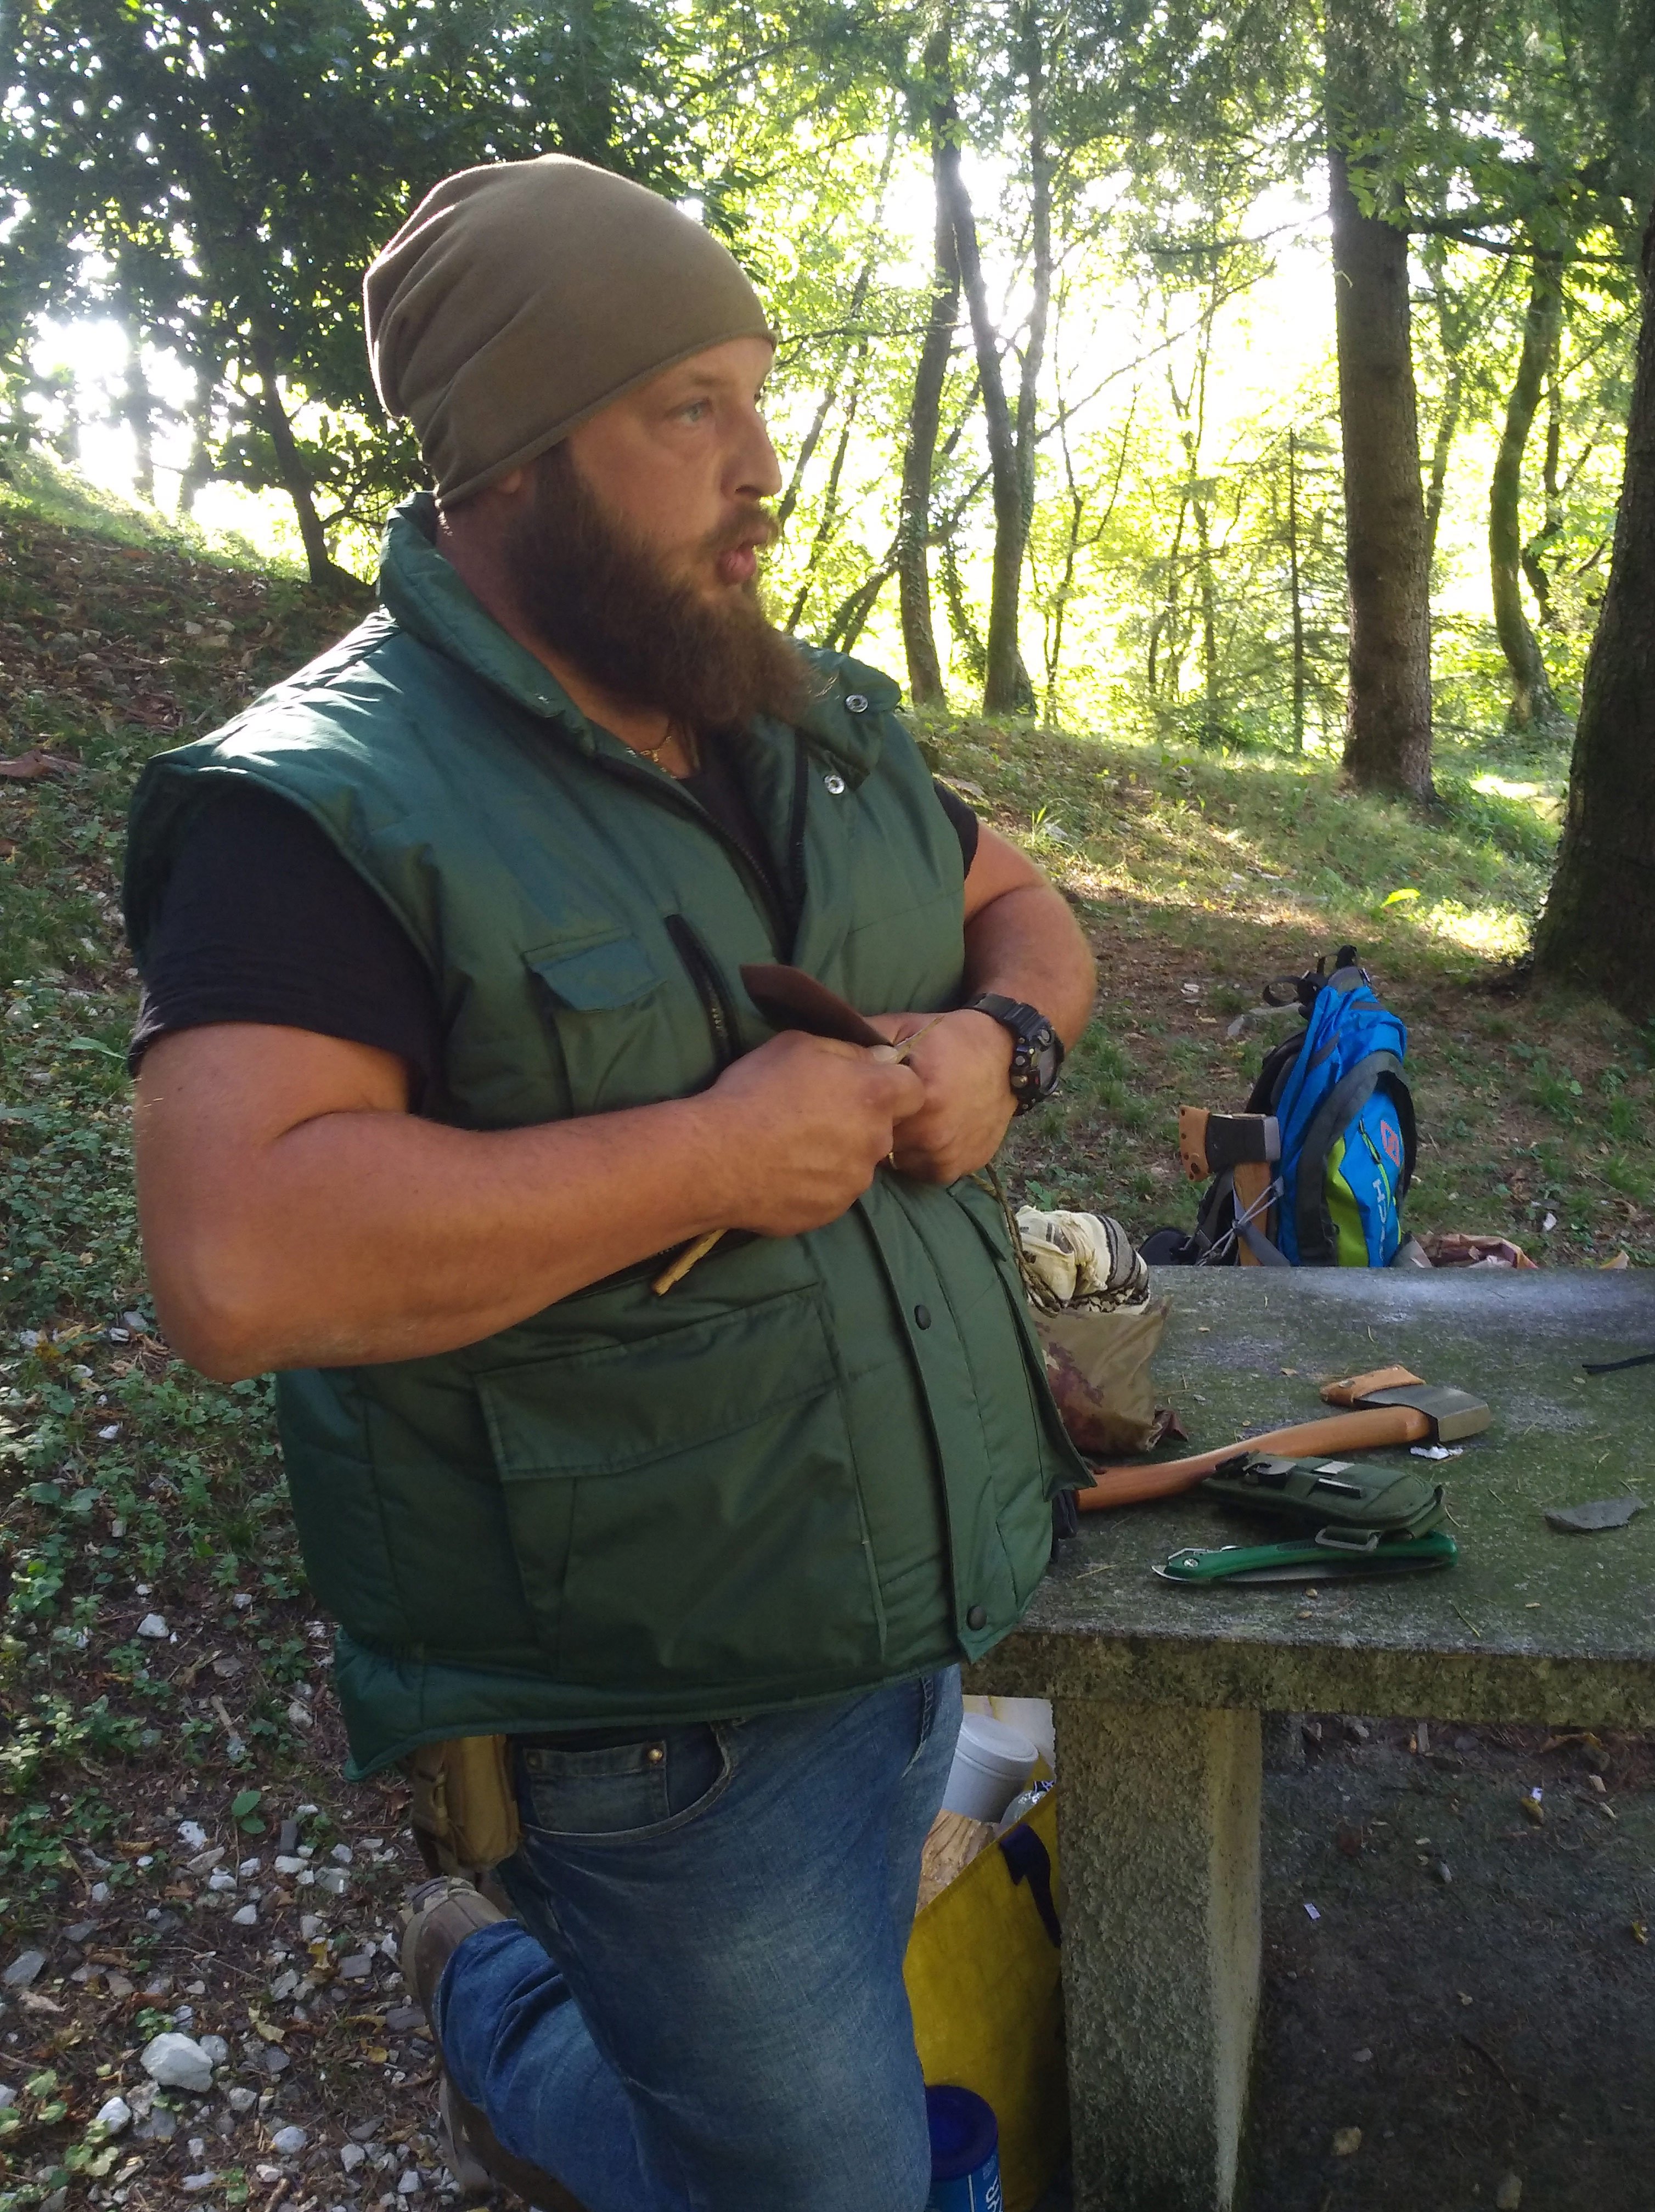
Read: how not to cut yourself when using a knife.
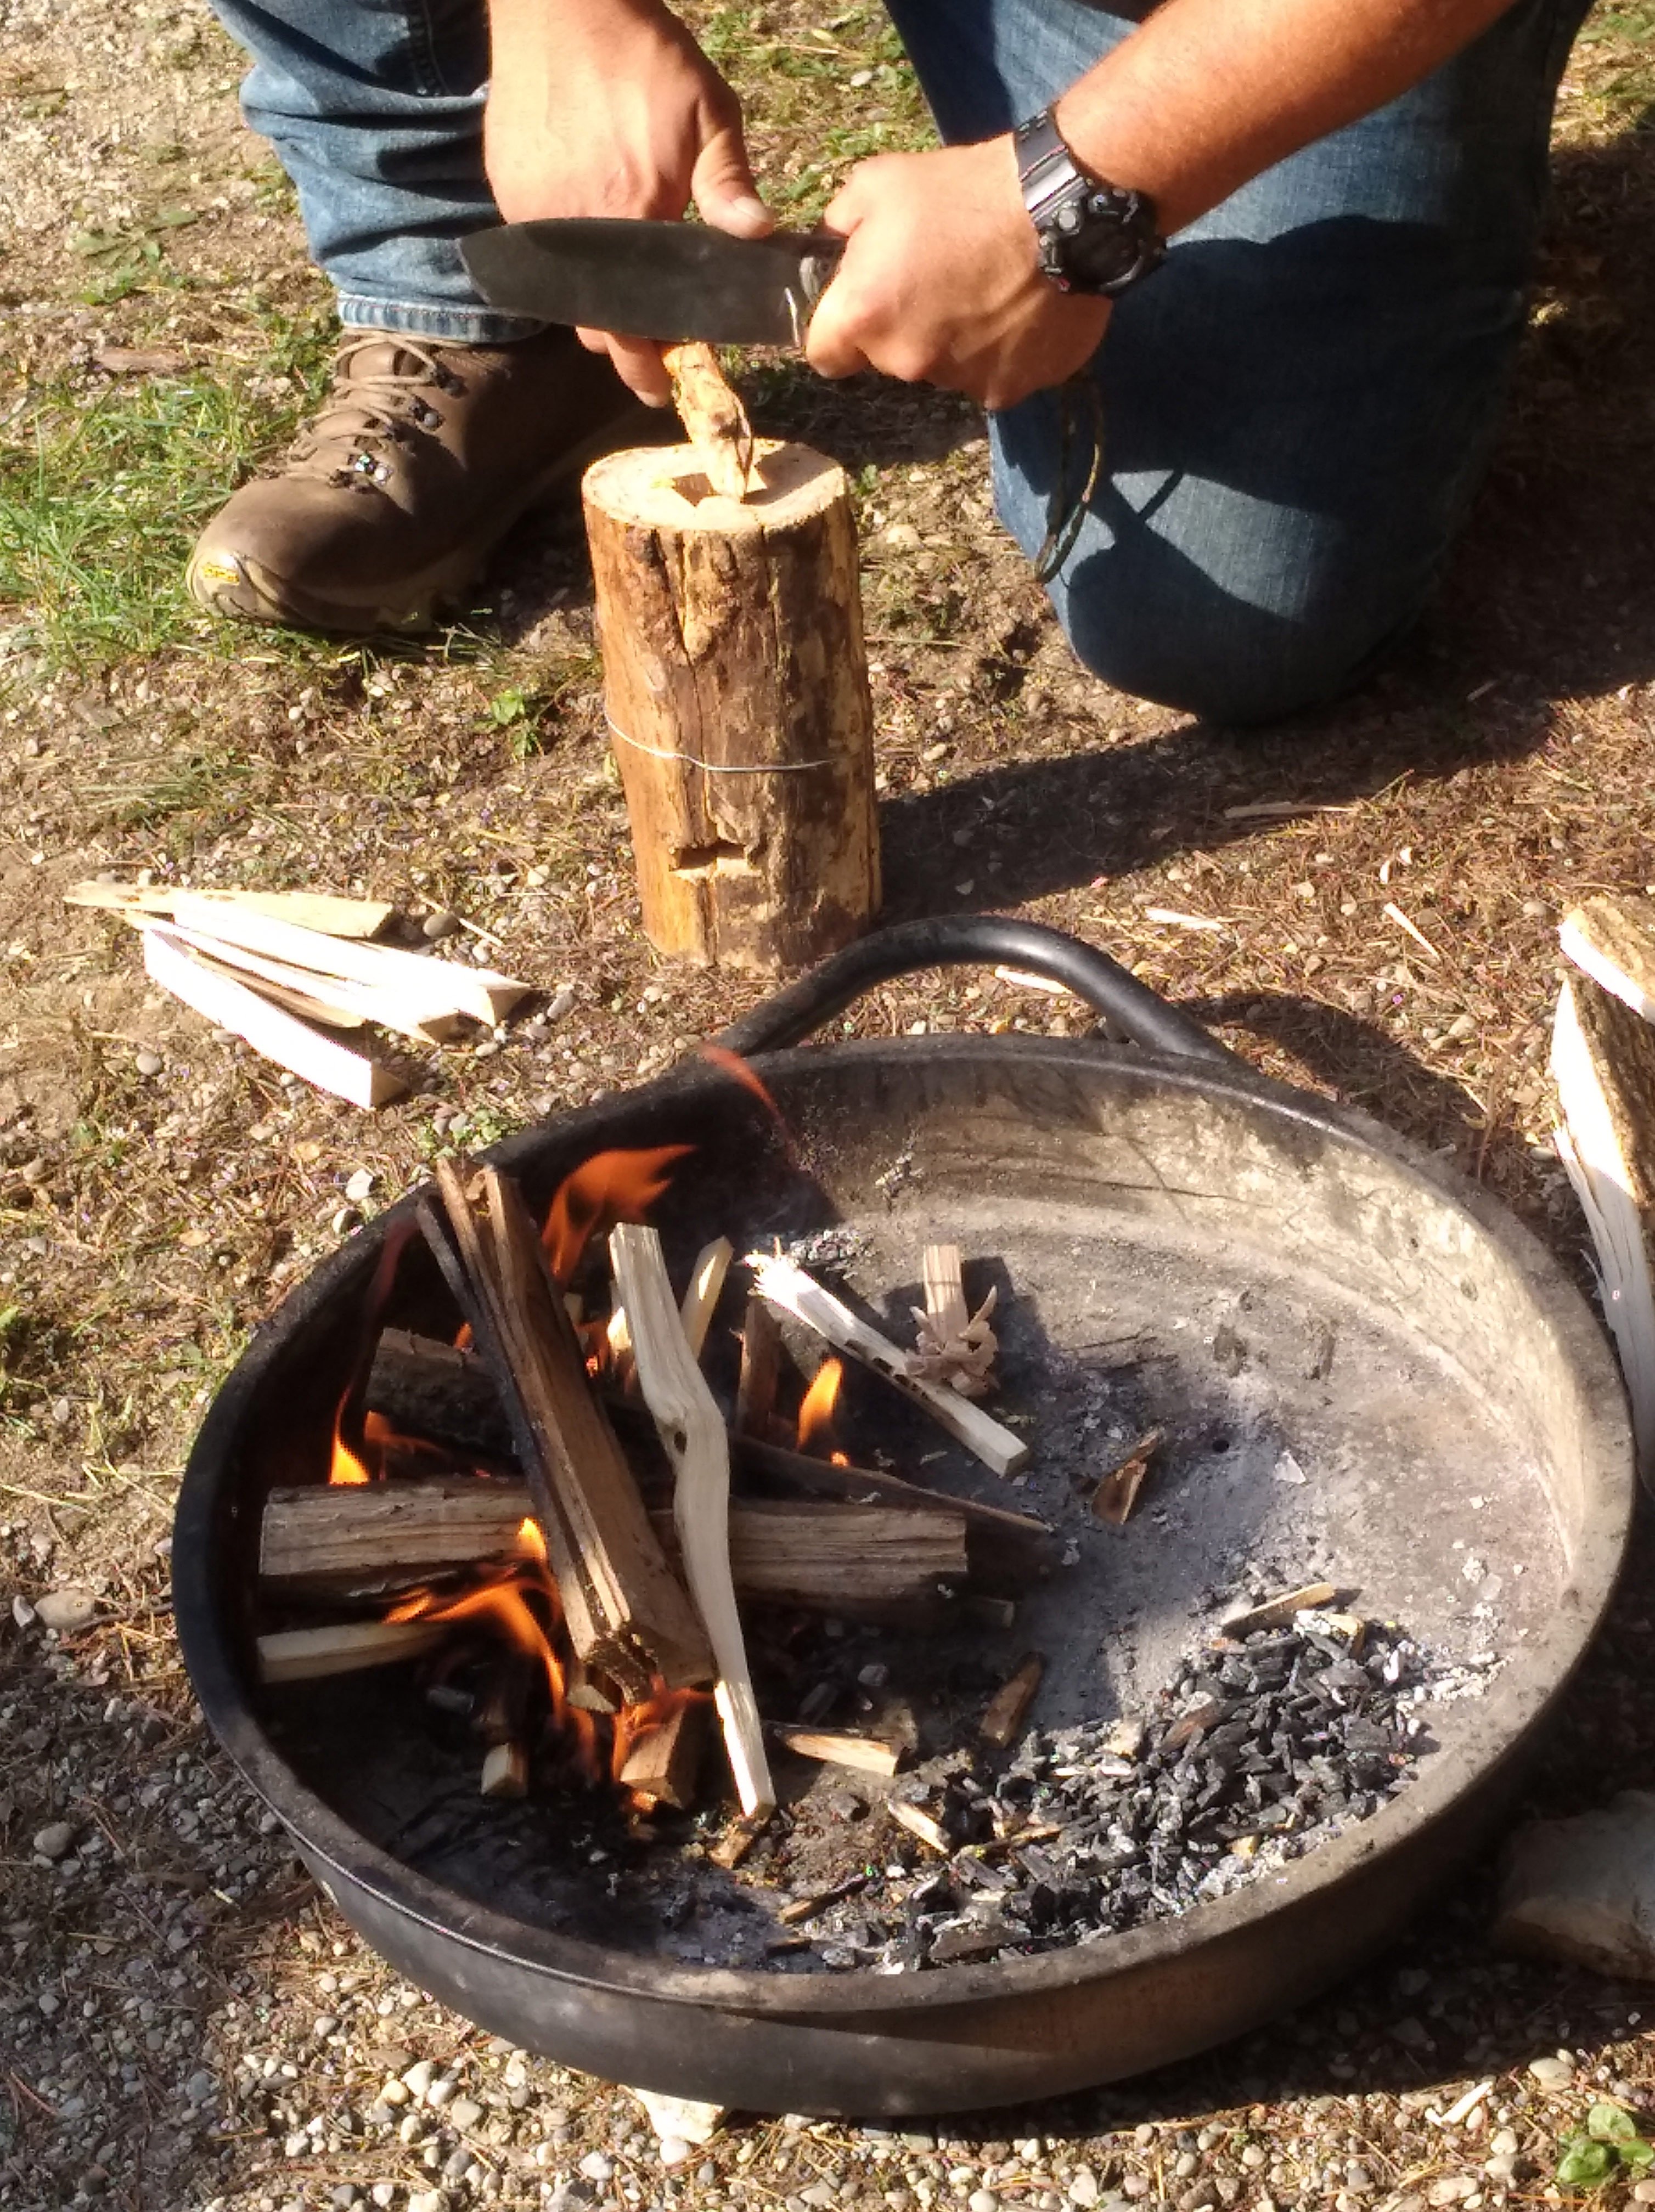
The correct position requires that you have total control of your movements and of the blade: your arms must rest on your body, firmly grip of the knife and blade facing outwards and no finger between the blade and what you are going to cut.
Blade facing outwards is a vital condition, because, even if the knife splits out for any reason, it will not do it towards you.
The sharper the blade, the easier it will be to cut and engrave your object and, as a result, the chance of getting hurt decreases.
4) How to light a fire
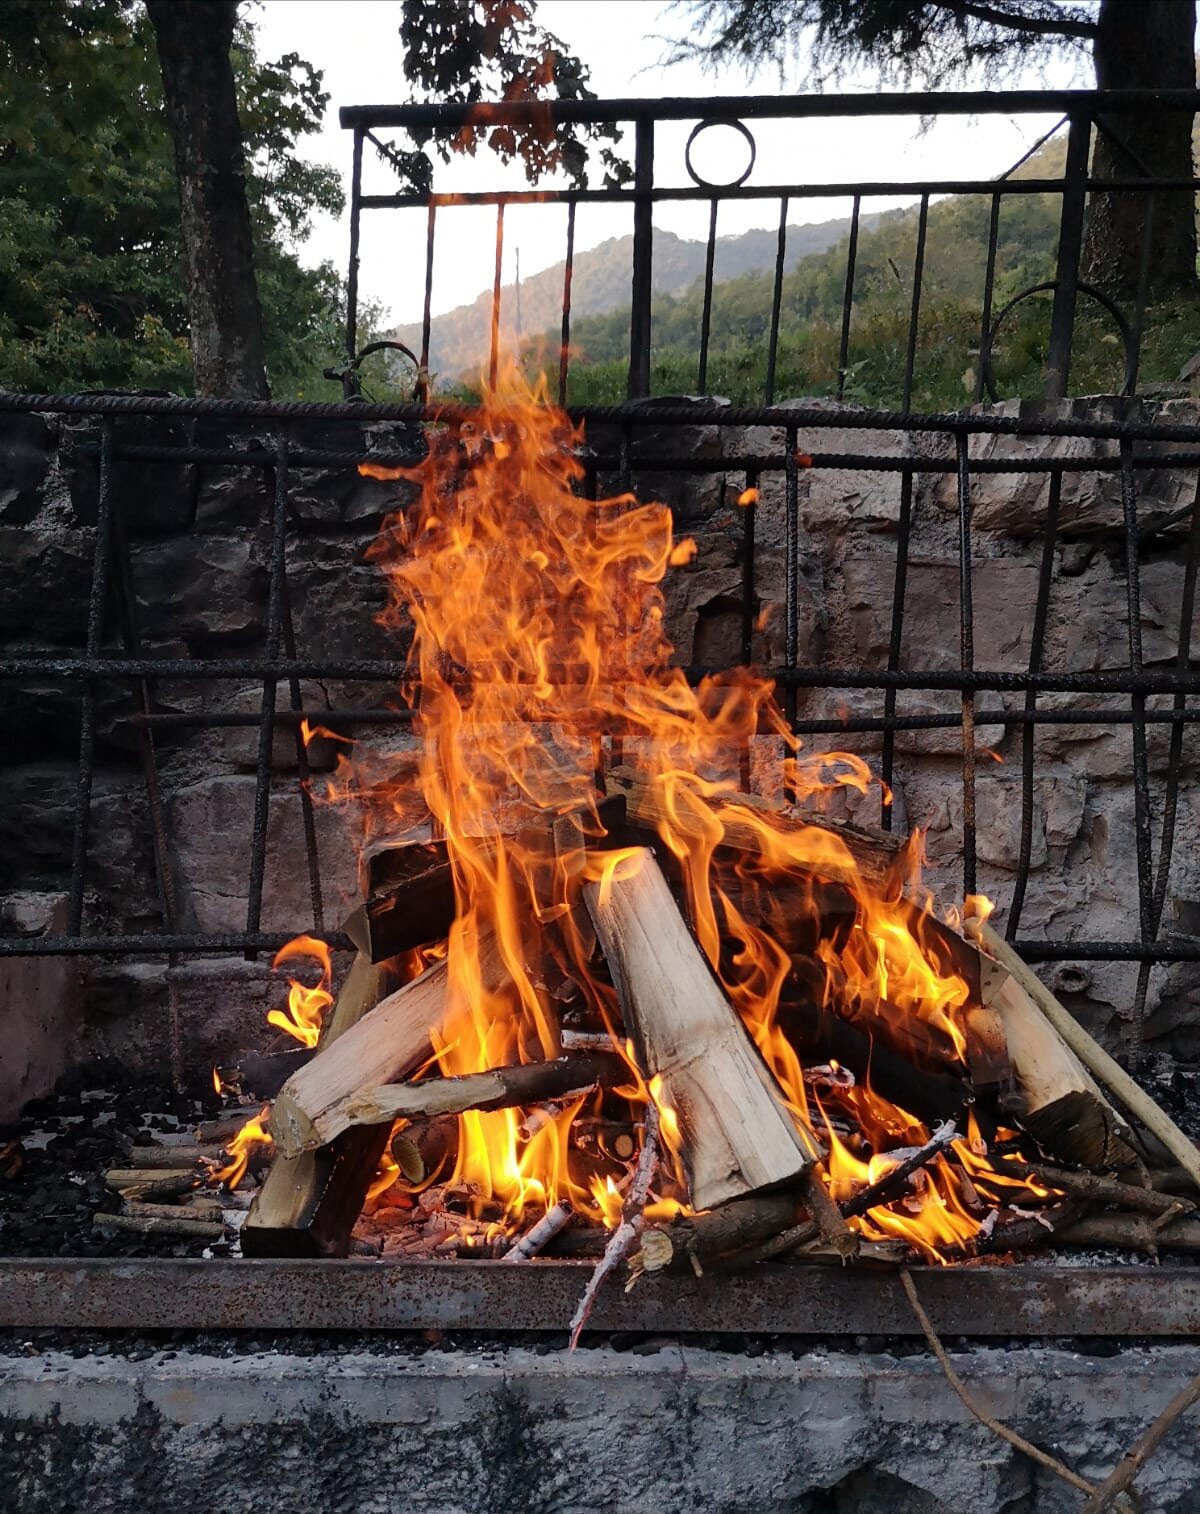
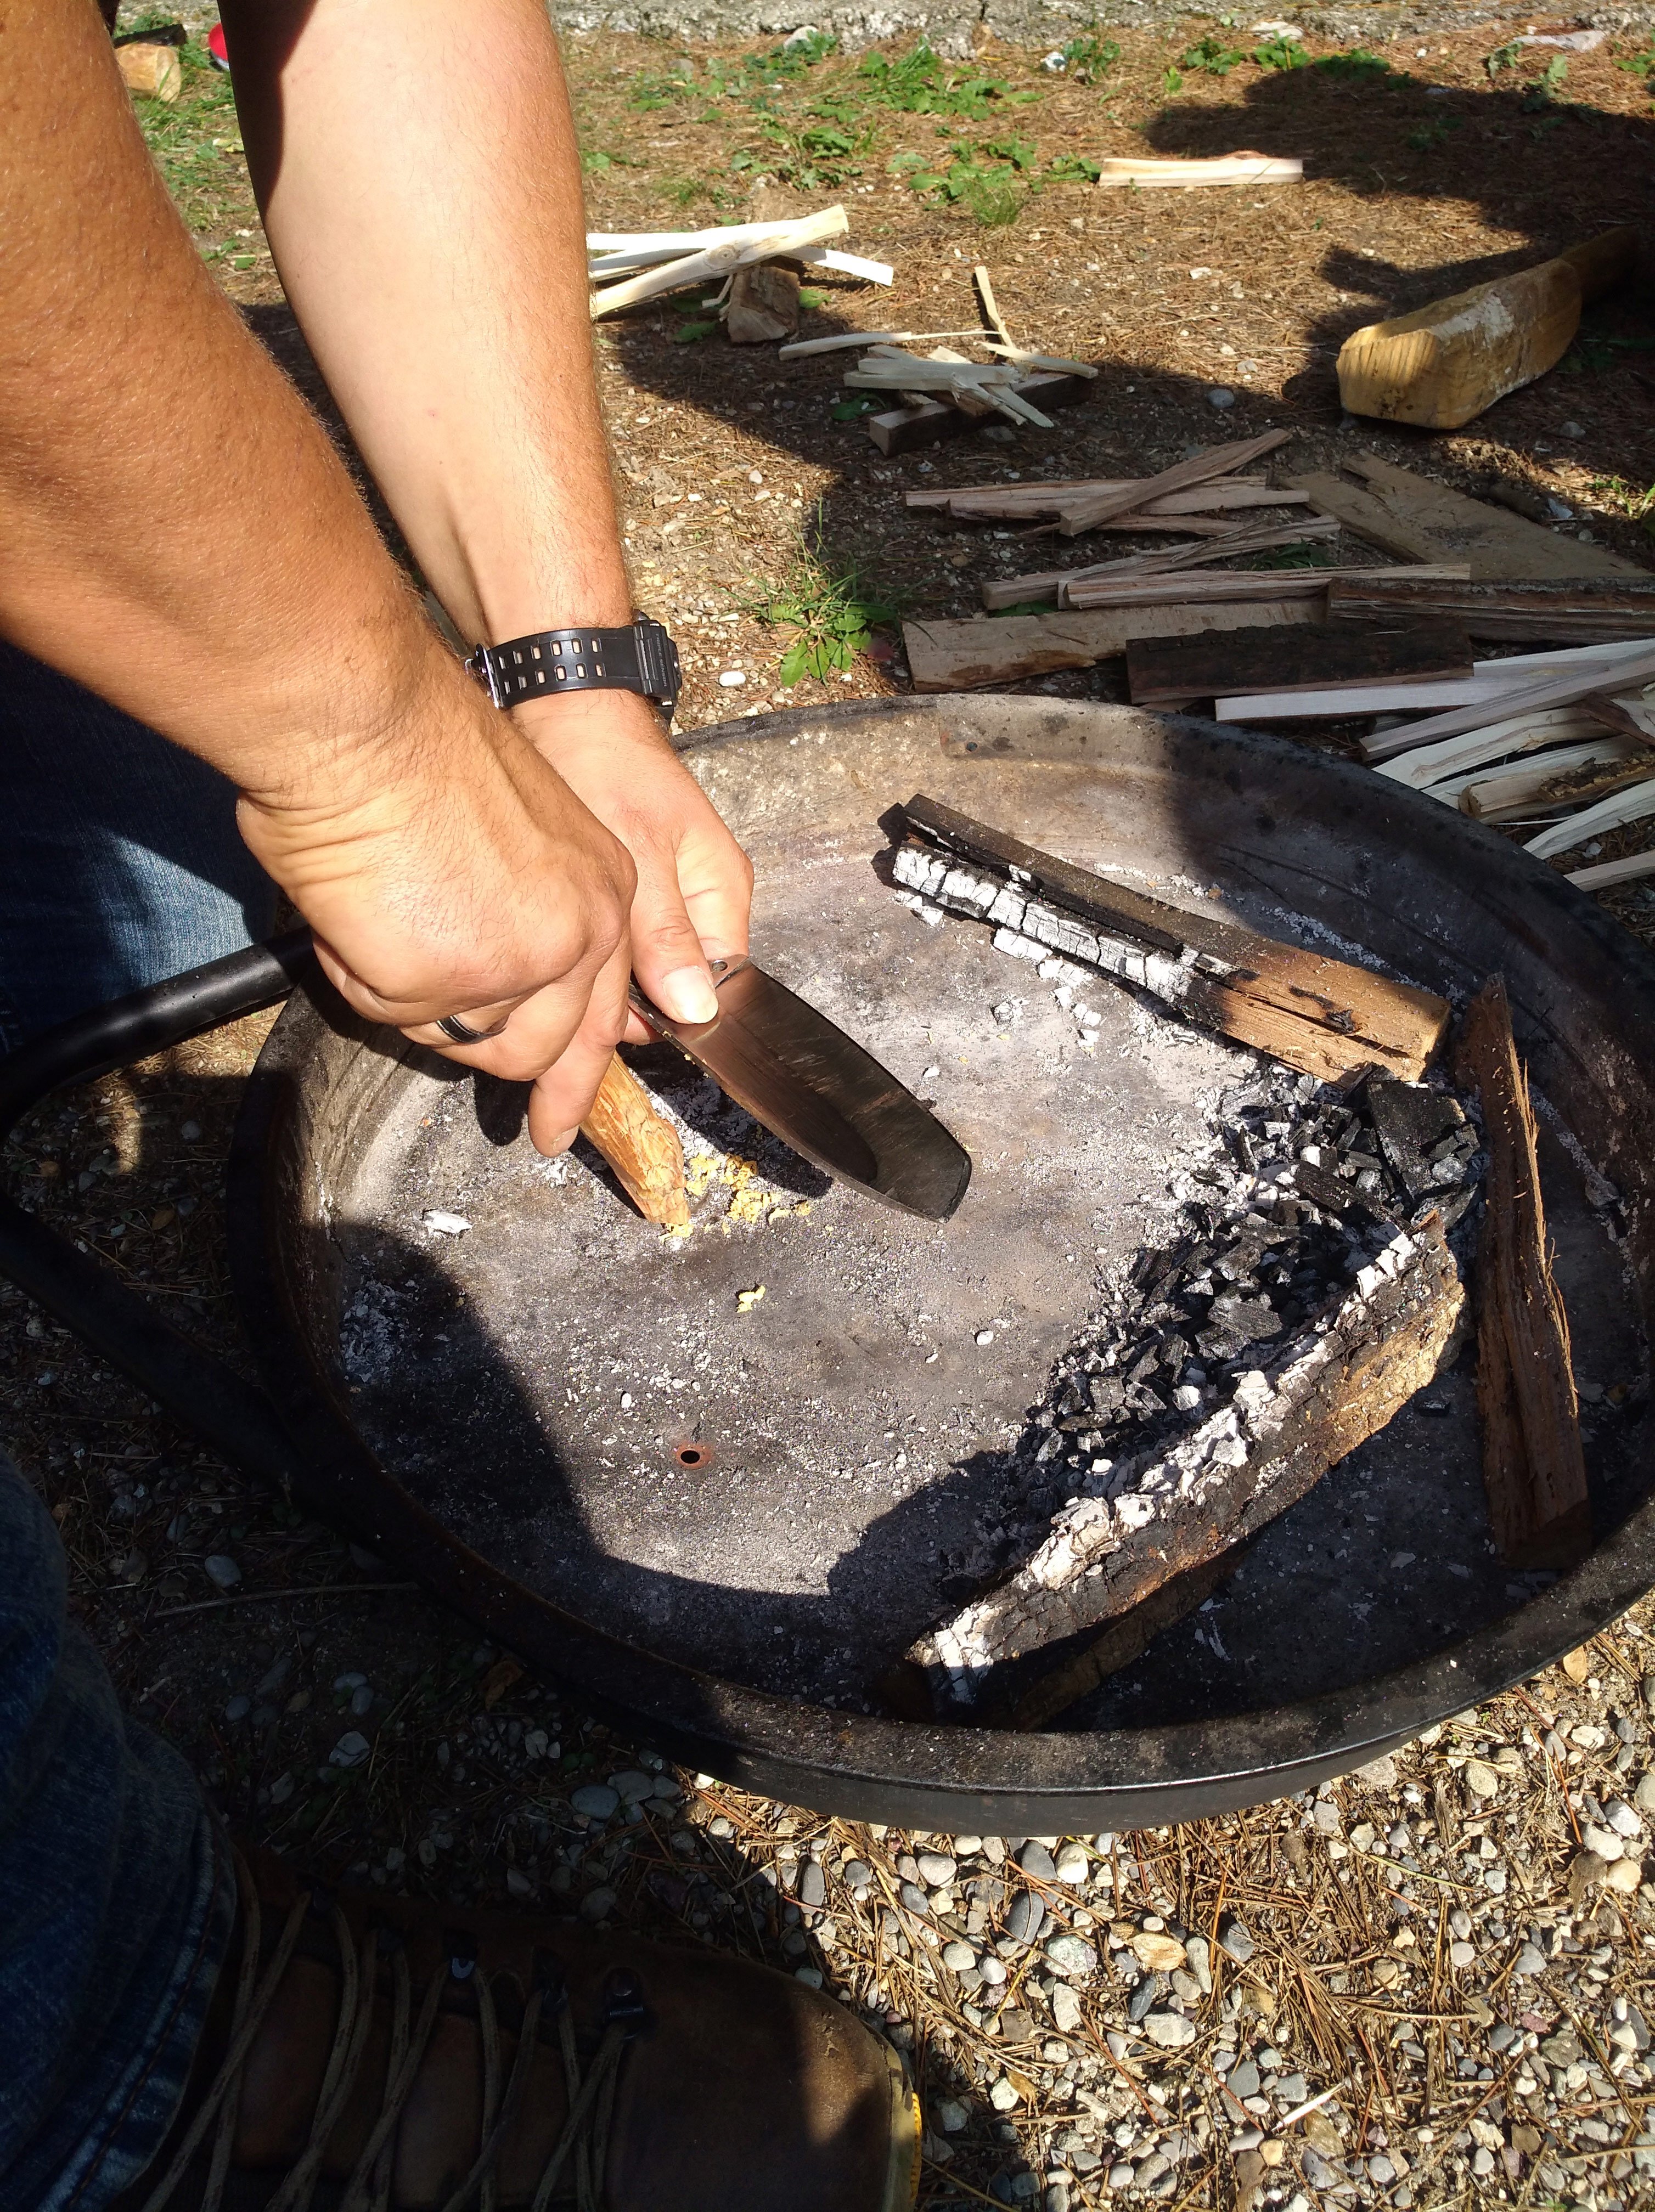
“Anyone is able to light a fire, but you need to know how to do it well”, says our master firemaker.
Here, about the fact that everyone is able to light a fire I would have something to say J because I failed even after the tenth attempt using some techniques, while Daniele seemed to light fires with the sole force of his mind J
Frustration and admiration aside, what does it mean to make a fire well?
It means making it safe, I mean without causing the risk it will spread, making it as large as needed, in a space clean from everything that could catch fire (clean even after the fire is off, both for safety and for fairness towards the environment and of those who come after you).
And here are the techniques:
Do you want a smokeless fire? Heat, fuel and combustive agent must be in perfect balance.
To light it and make it last longer, start with a fuse (a resinous wood, charred cotton, straw) and then gradually add larger pieces of wood, resting them so as to let the air pass through, because without oxygen, the fire doesn’t burn.
The wood to be used should be chosen according to the reason why you are making fire: the beech doesn’t turn on easily but lasts and makes a nice ember, while the birch lights up immediately but doesn’t last long and create ash.
Did you know that birch ignites even when it’s wet? So don’t despair if you have to light a fire after a rainy day!
During my bushcamp I tried two techniques to light the fire, more or less successfully 😉
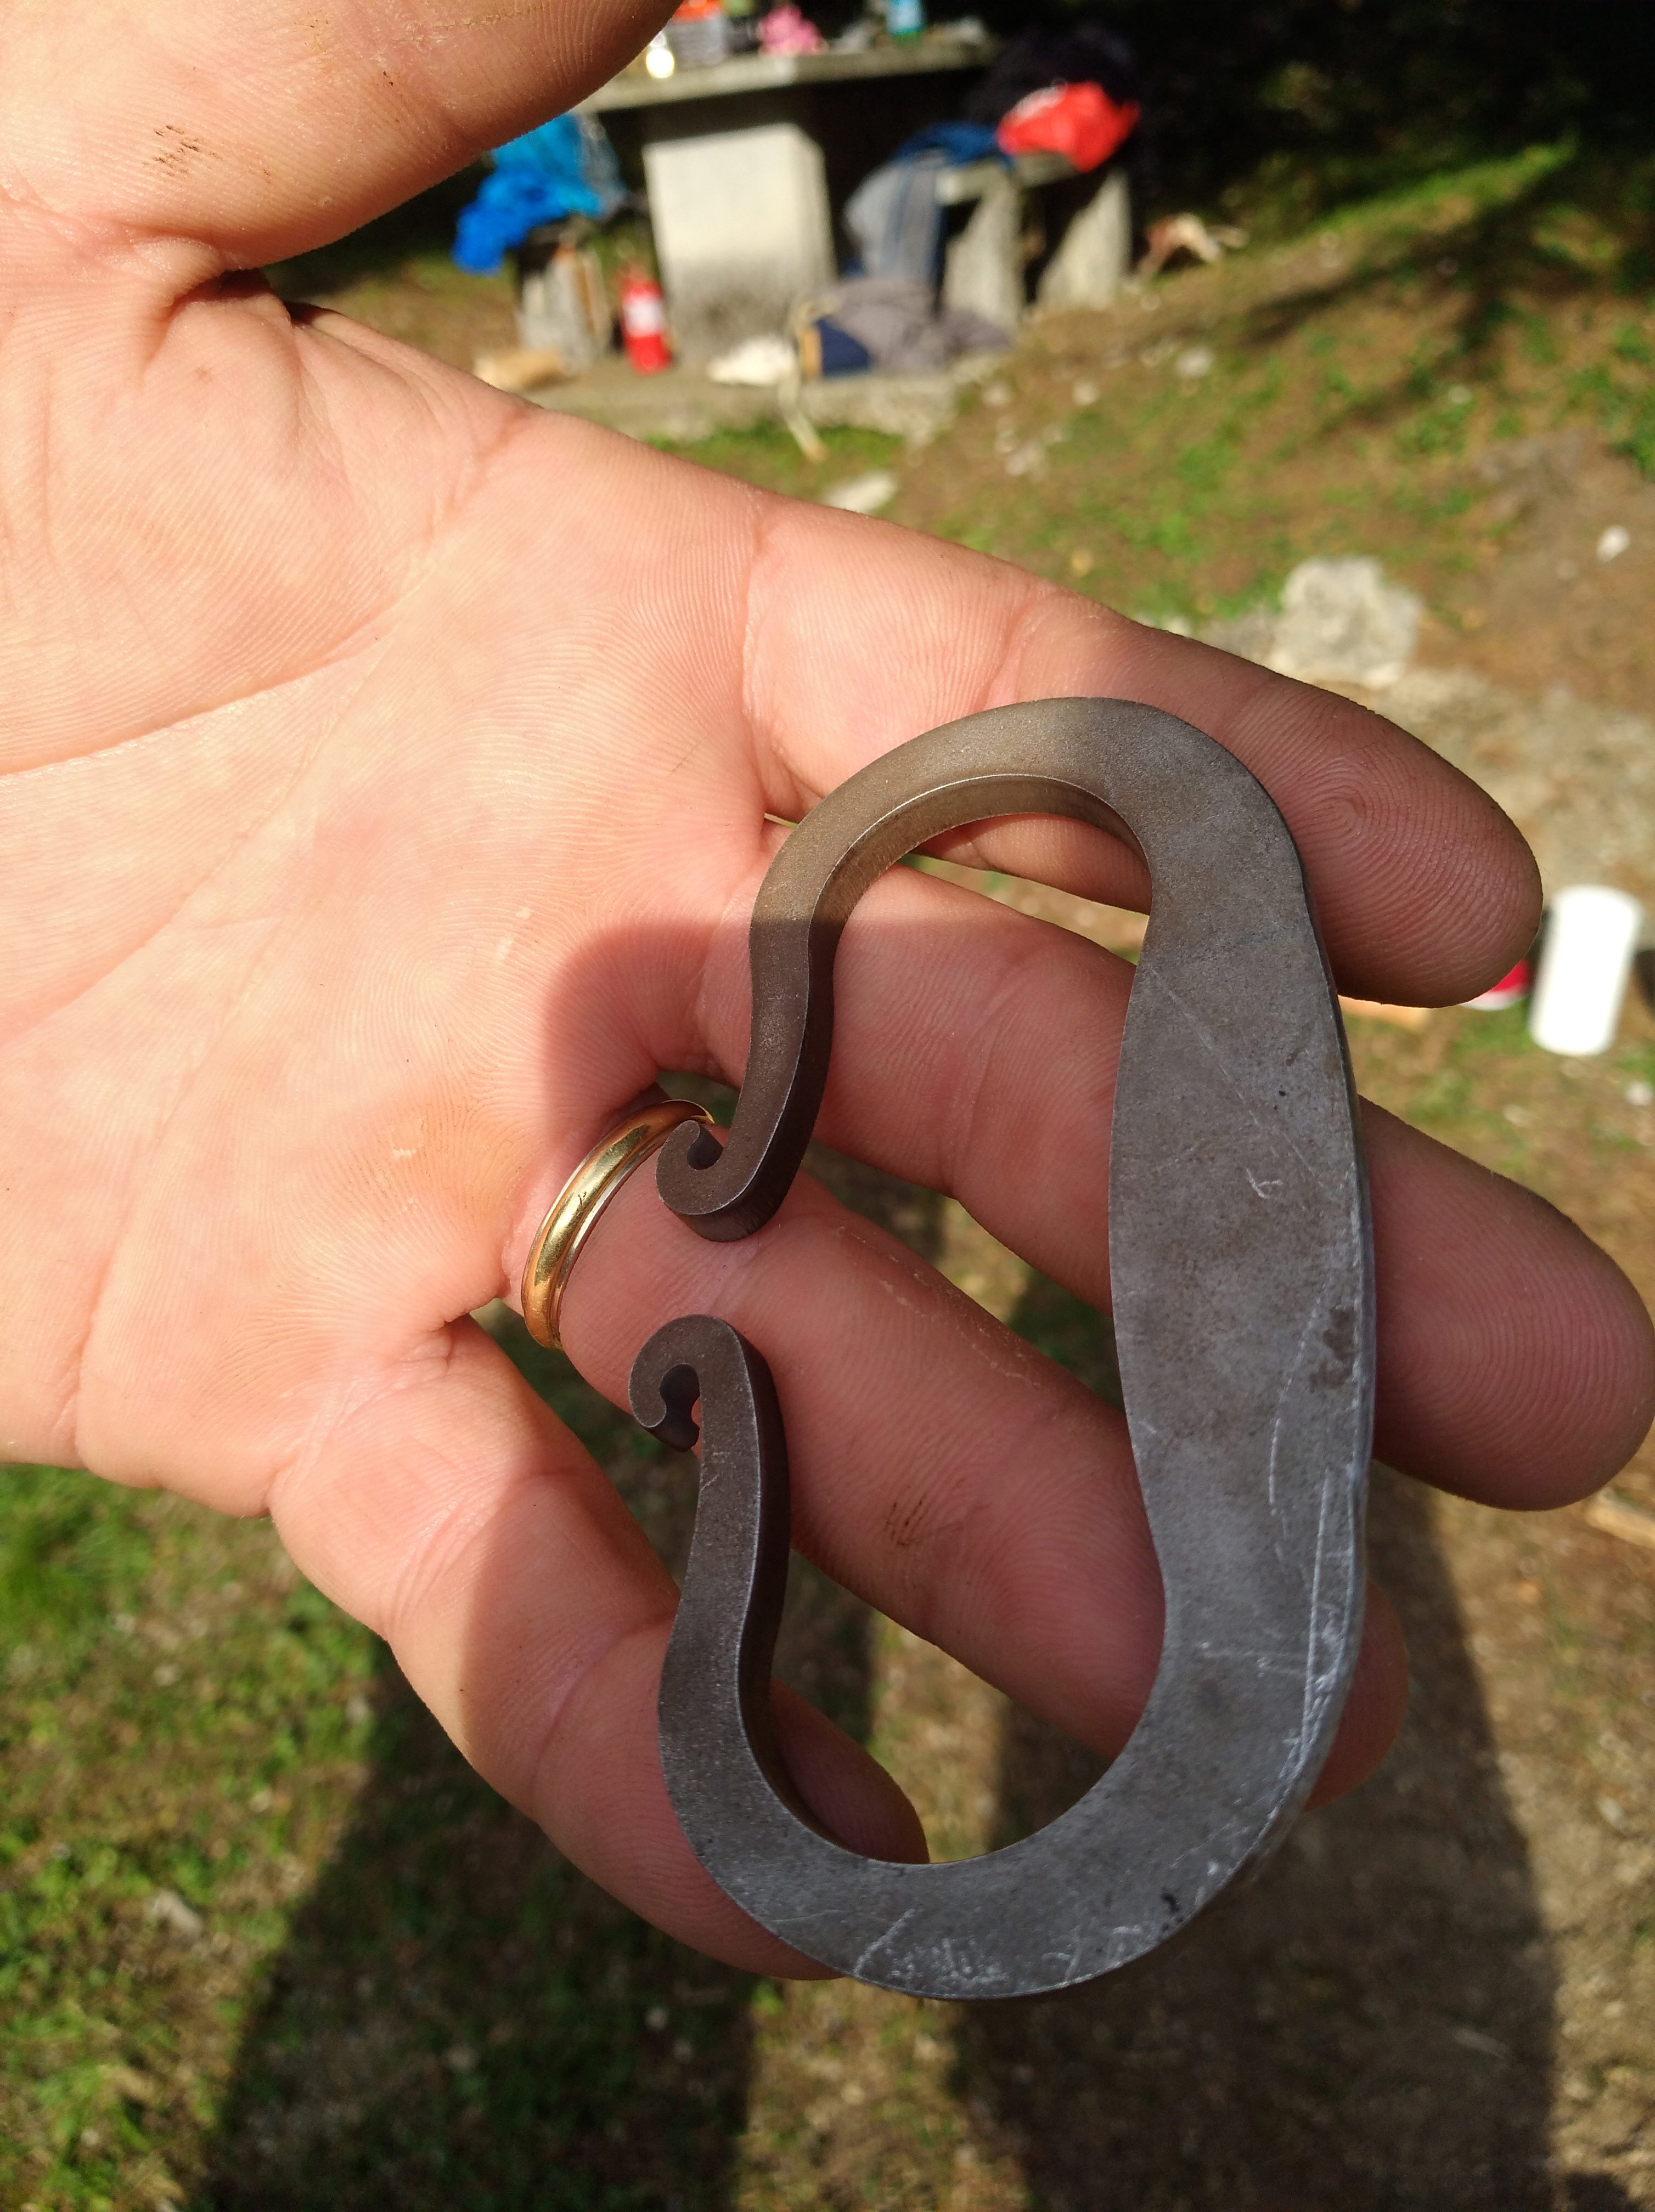
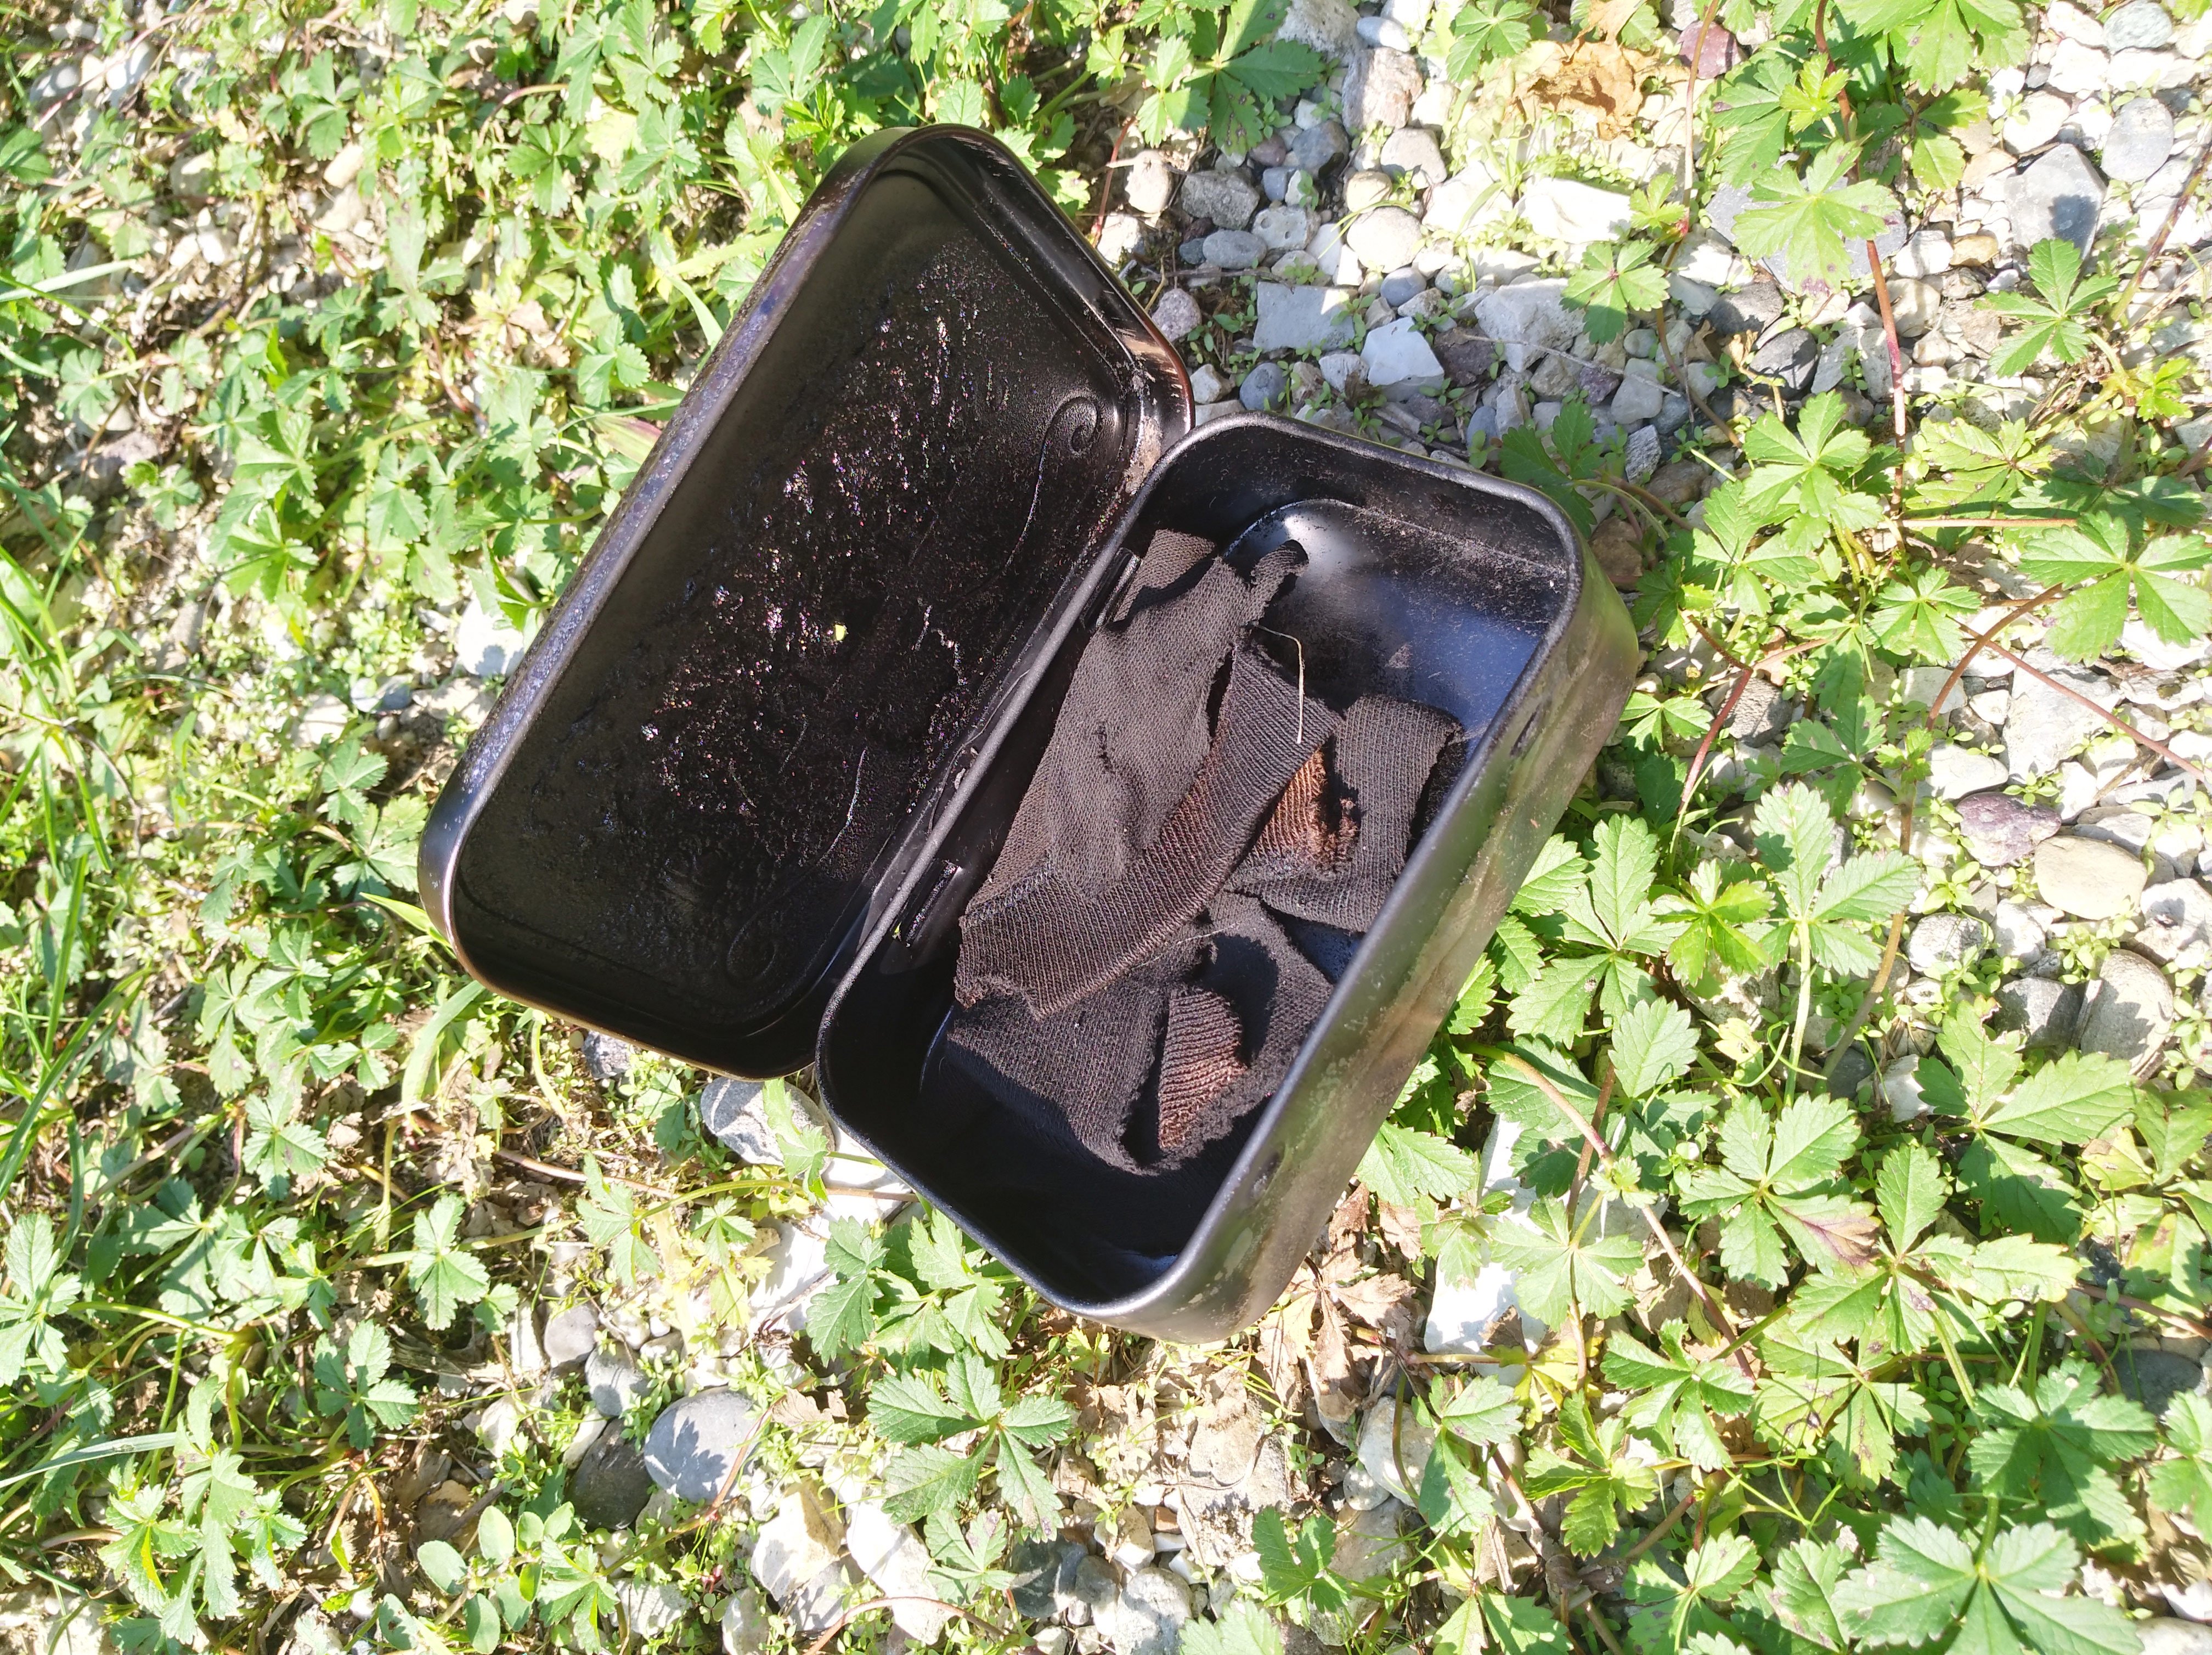
1) I created a base of small chips “grating” a resinous wood with the back of a knife; I took a flint and scratched it with the back of a knife to make the spark; I added small pieces of wood to feed the flame; I rejoiced for two minutes then it turned off 😀
2) We have carbonized the cotton (if you want to know how, join us in the next bushcamp); we scorched it by rubbing a flint with a flintrock and I inserted it in a sort of straw nest that caught fire (with the intervention of Daniele’s strength of thought).
There are many other ways that you can learn with a few days of experience in a bush camp like the one I attended with Daniele and Marco.
5) How to build a swedish torch
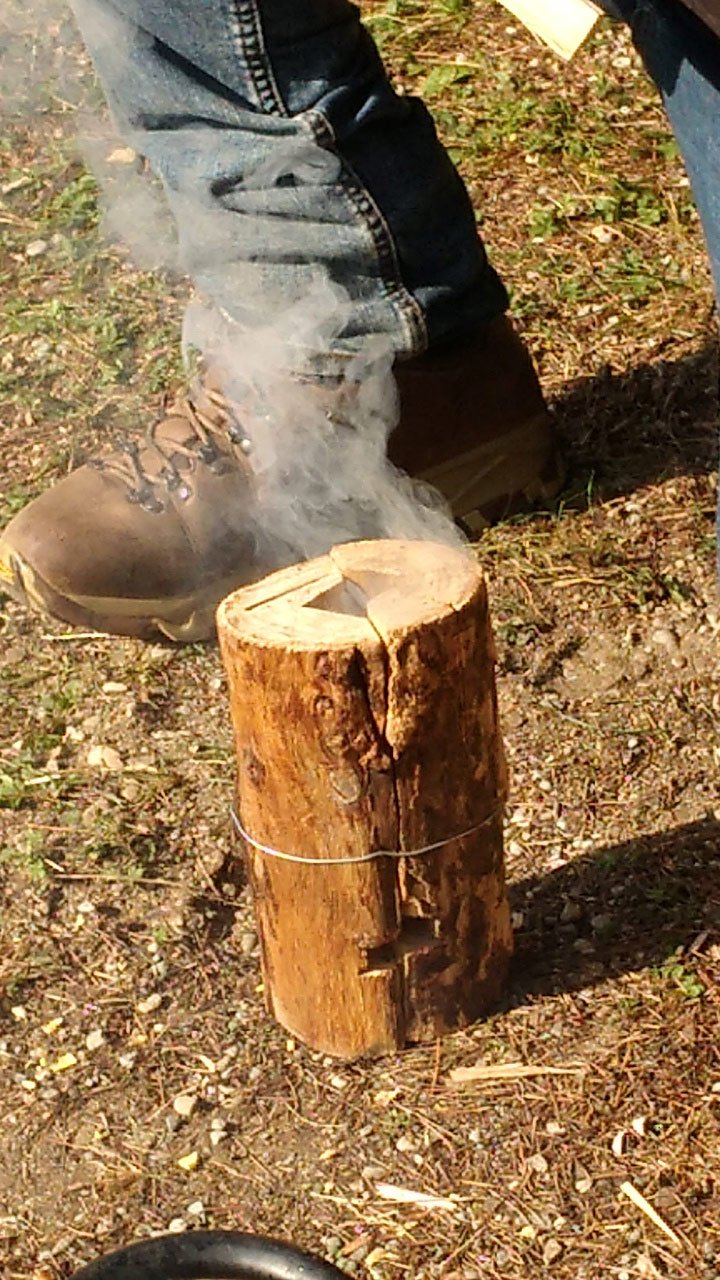
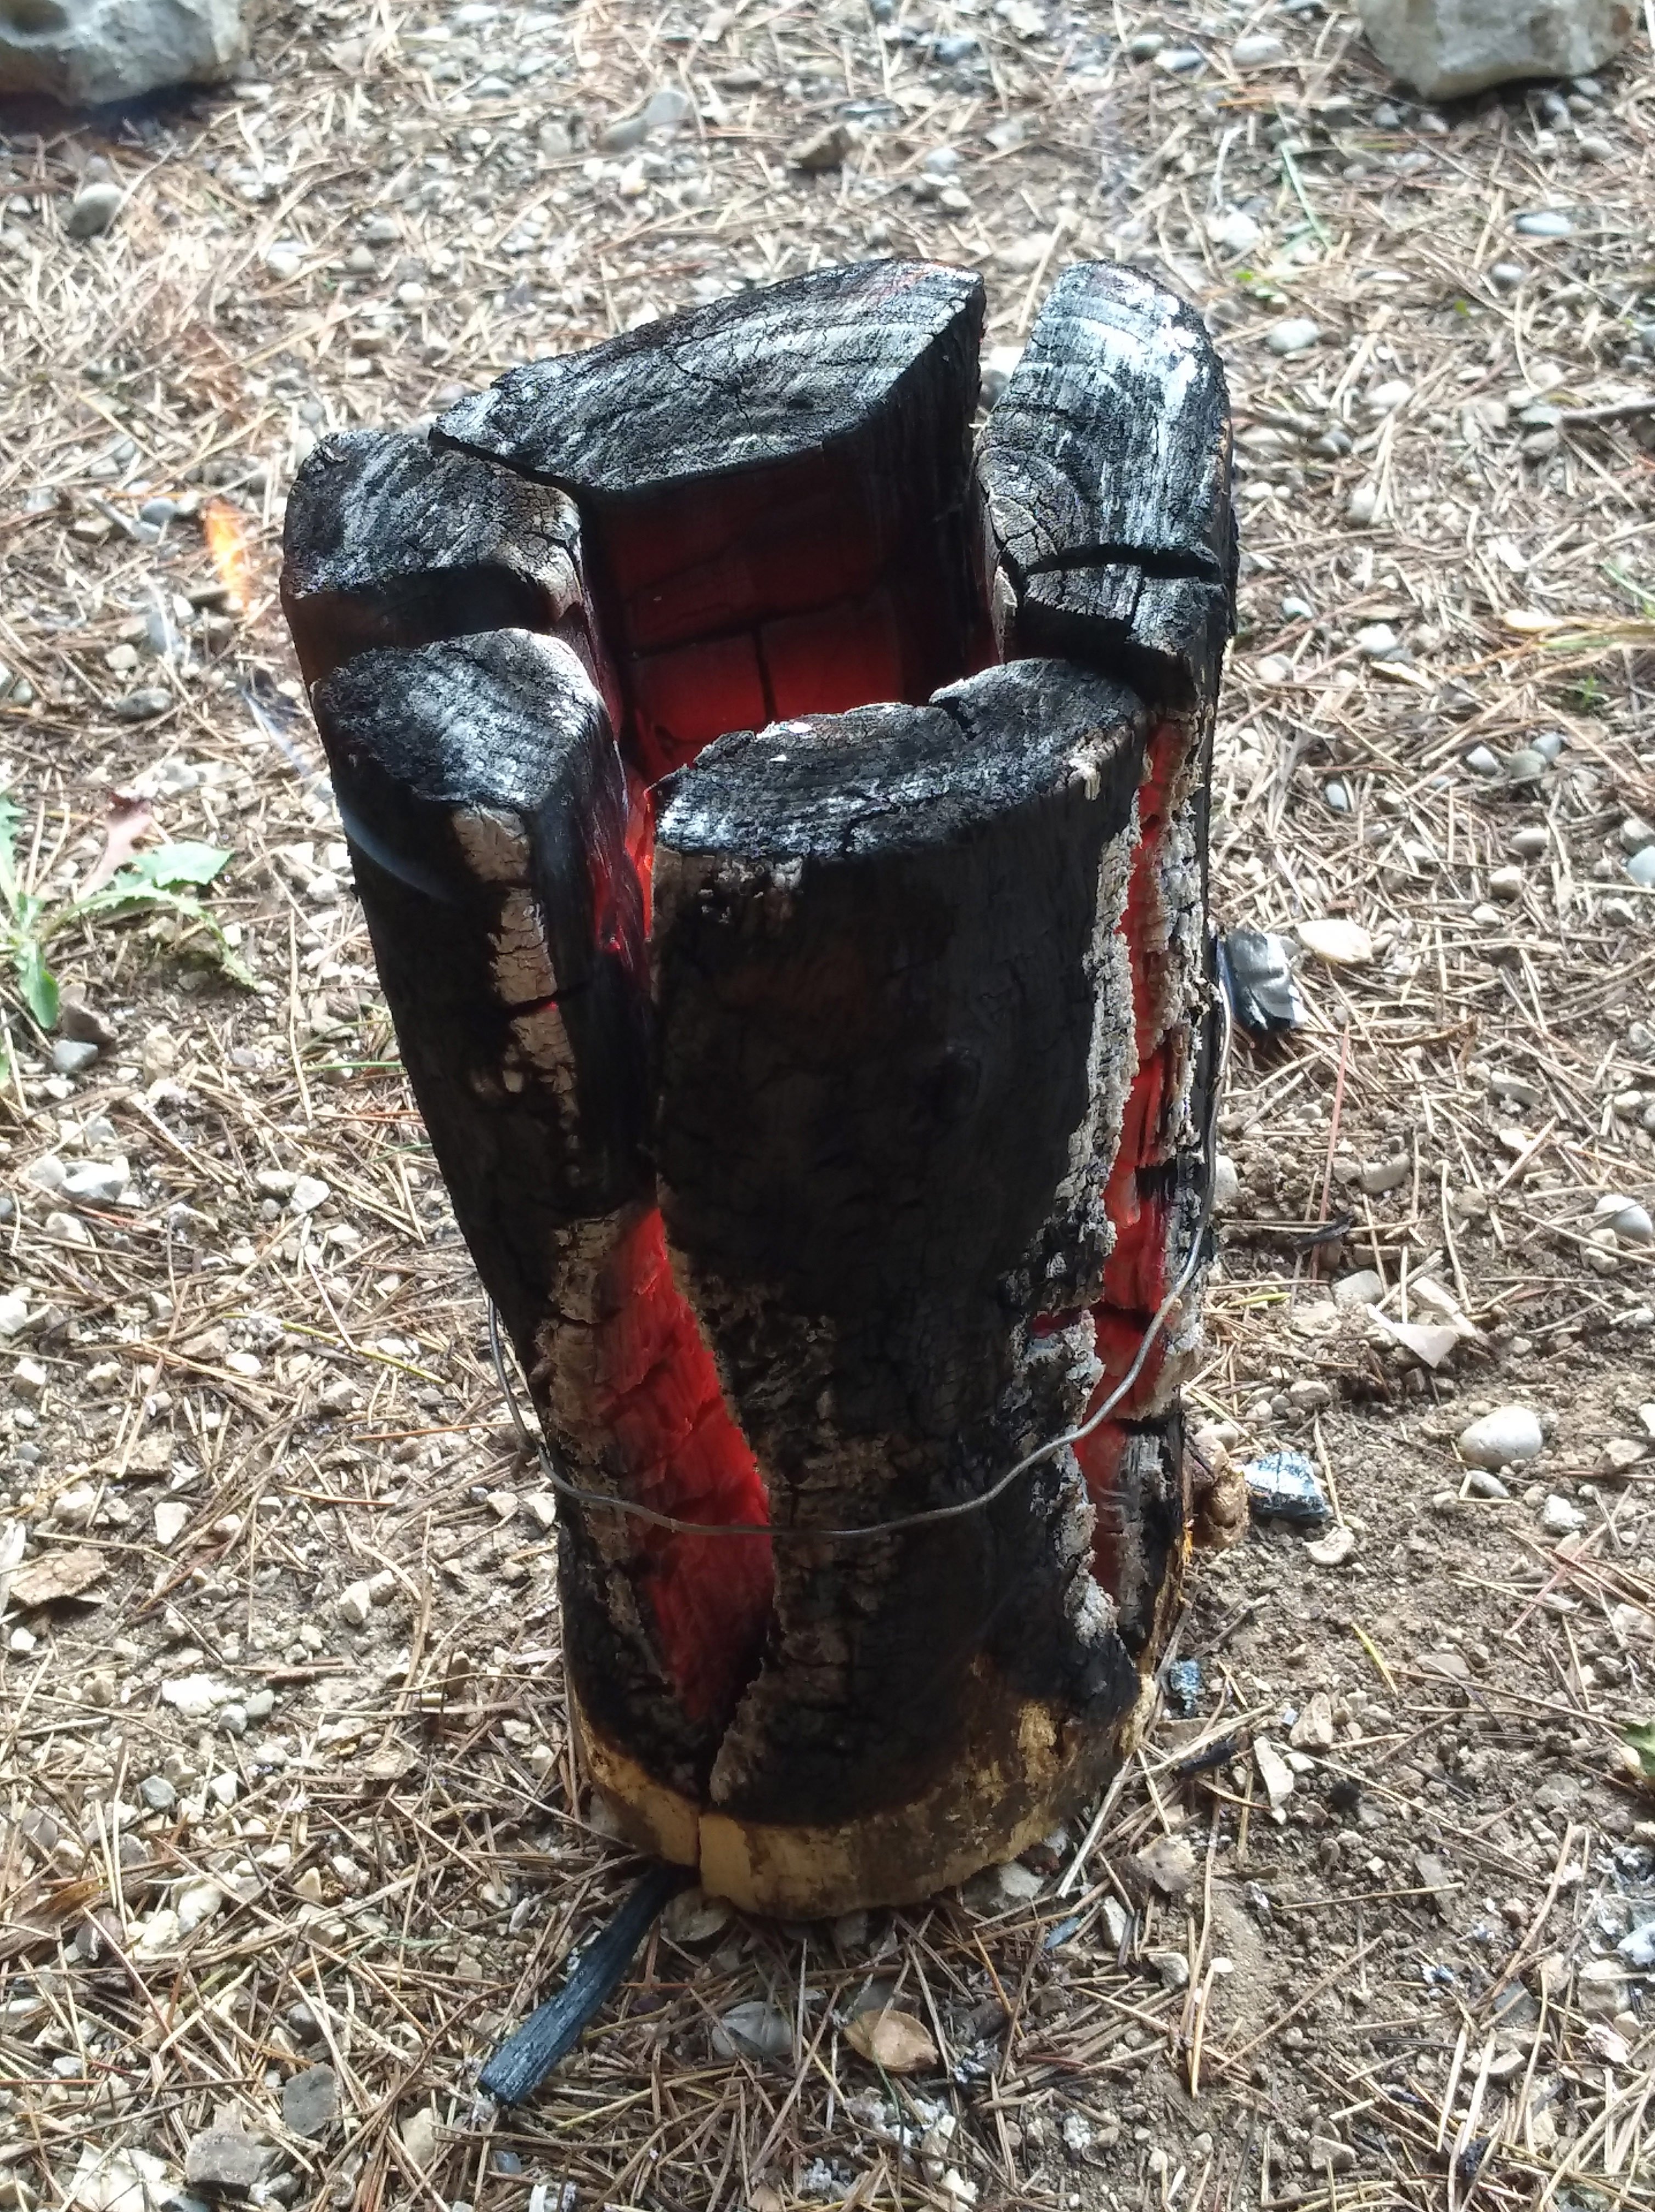
Now that you know how to light a fire, you can build a Swedish torch to cook, warm up and make a coffee.
Take a log and divide it into four parts along its length; cut the tip of each “triangle” so that, by bringing the pieces together, the center remains empty; keep the four parts together with wire or other material that doesn’t catch fire or burn; grate some fuse inside and light it; feed the fire as you learned and prepare the moca 😉
6) How to make drinking water
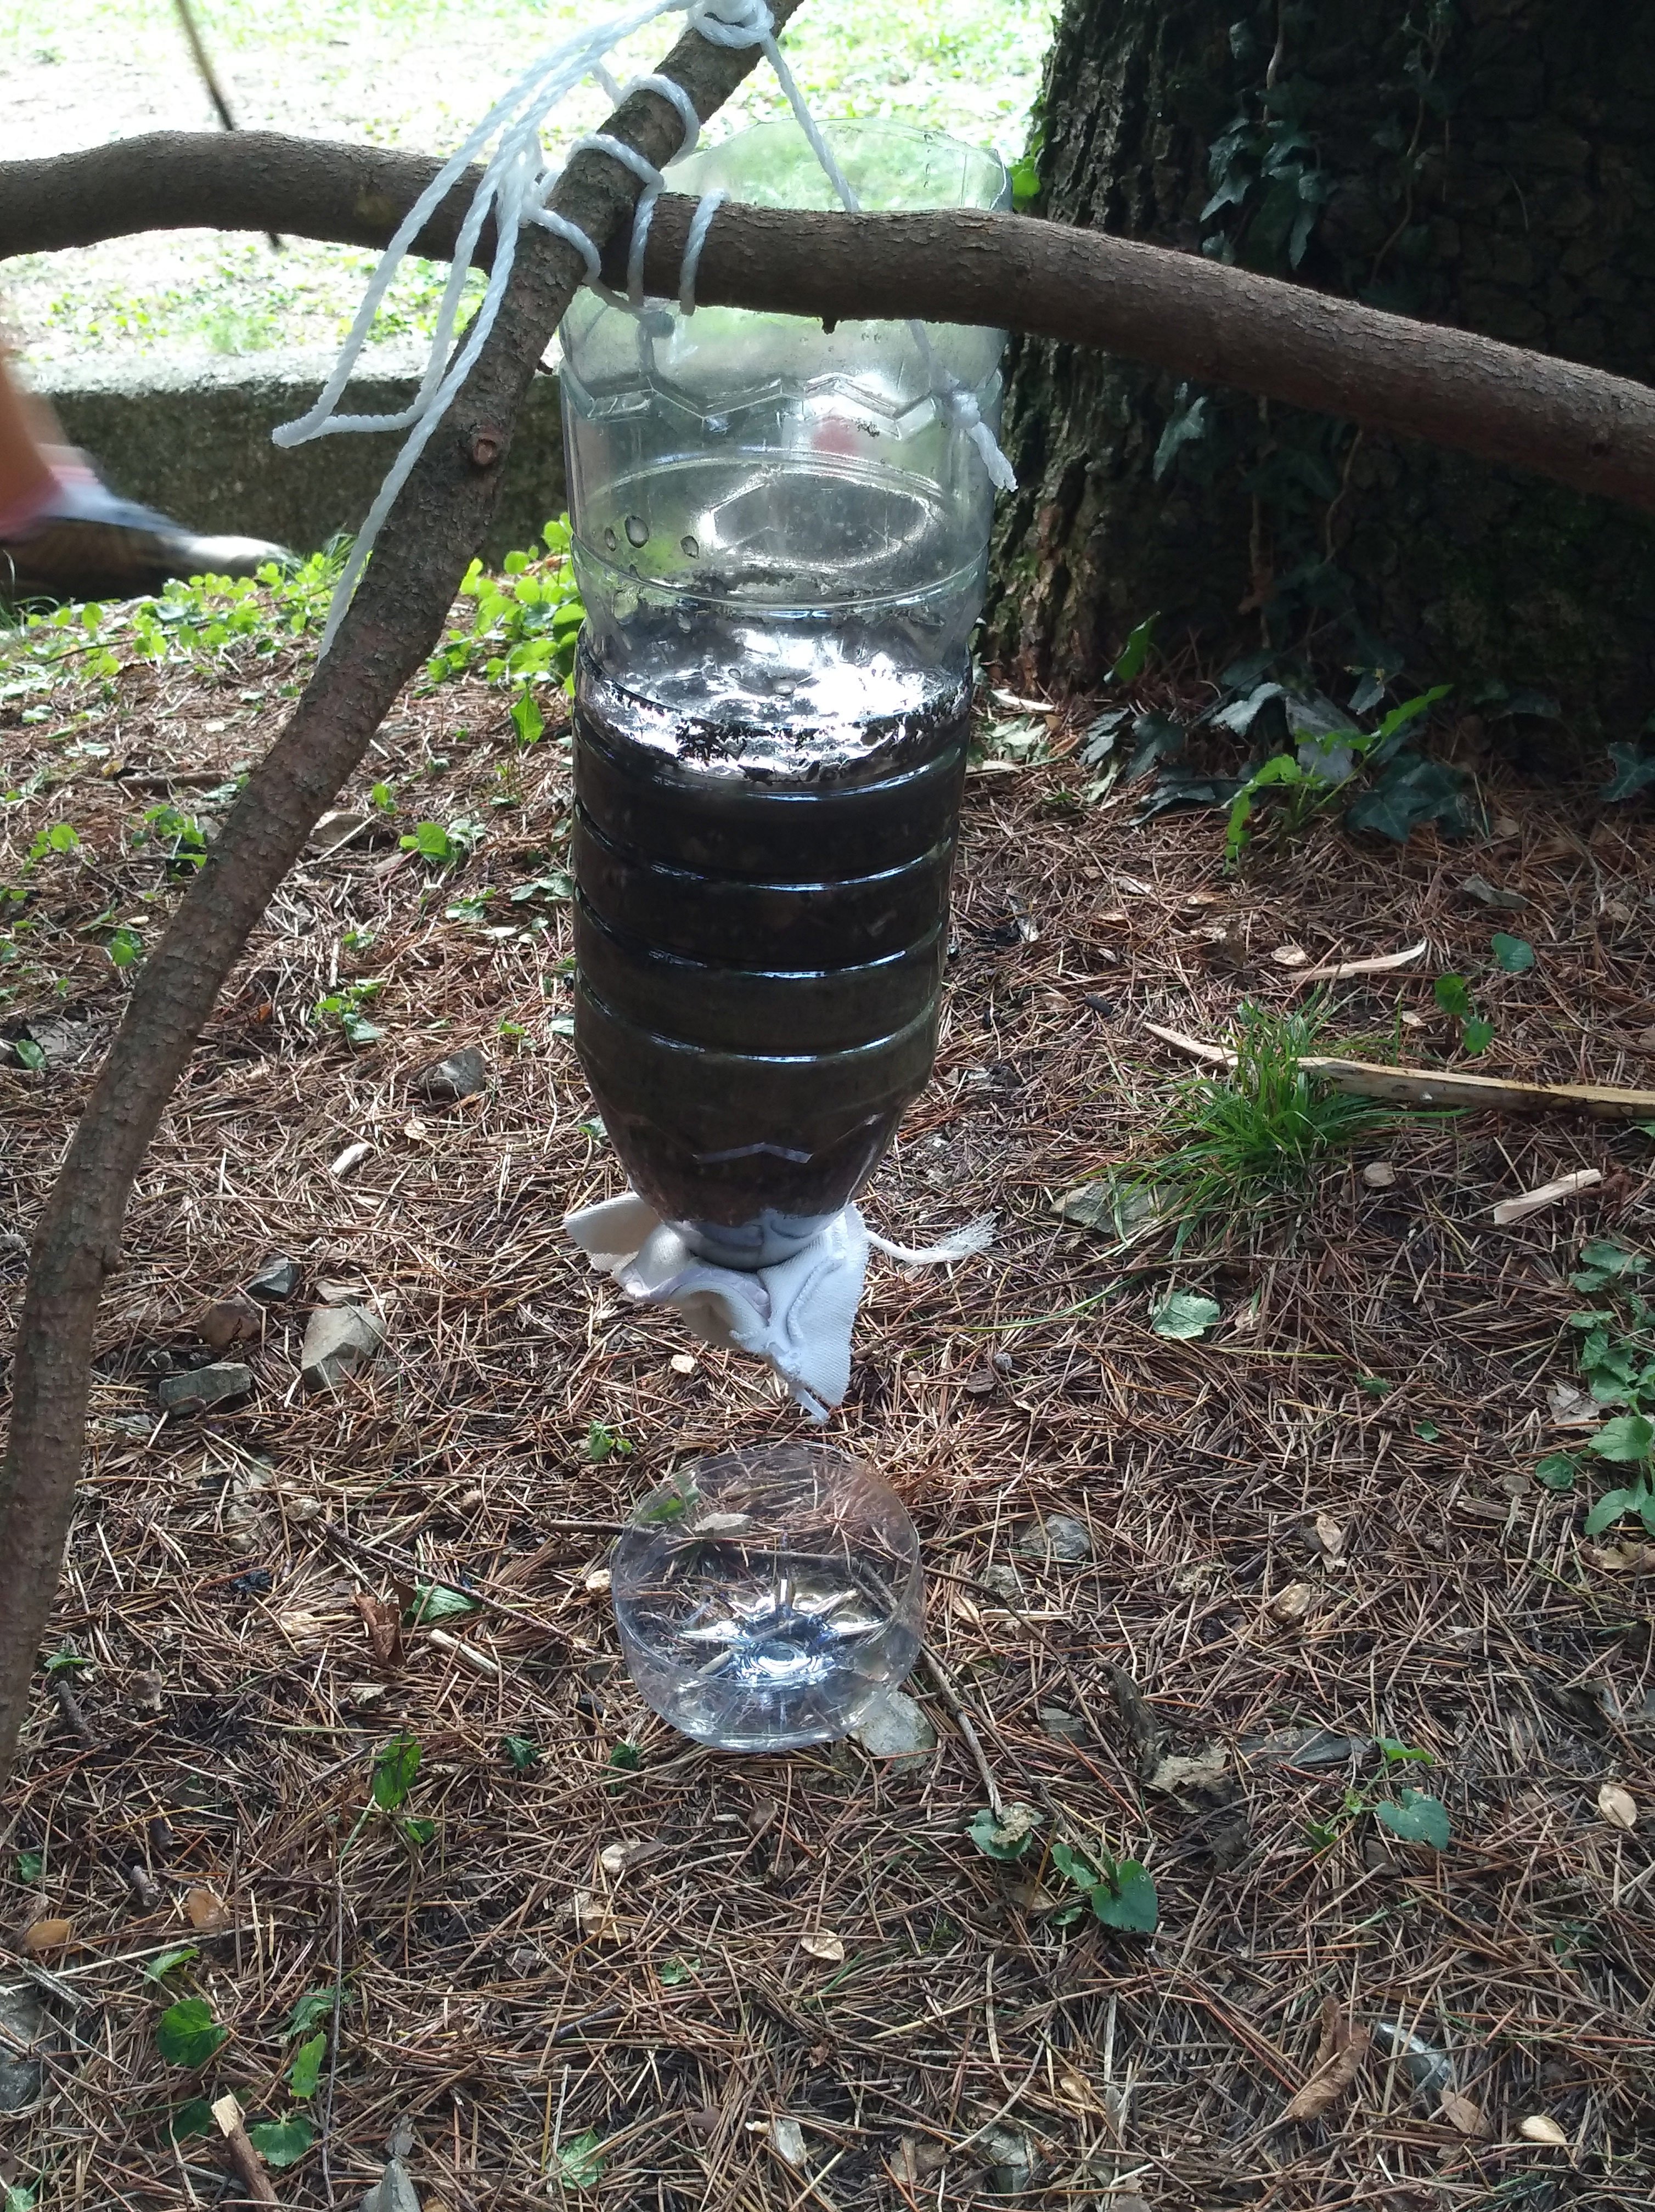
Did you run out of water? No problem, you can safely use that of the stream, or the puddle.
The water in the bottle you see in the picture is a mixture of earth, branches, leaves and anything else that, properly filtered, is good to drink, as you see in the binder on the ground. I swear I drank it!
In addition to a filter like a tissue, a piece of fabric, a gauze, something that blocks even the thinnest components, it’s necessary to create a stratification of filters that do not allow any impurities to pass through. If you also use coal, you will not experience any particular flavor.
The filters must be chosen according to the contaminants, which can be simple earth, or even metals.
On a professional basis, there are tablets that also purify water that contains harmful substances and that you can insert into special water bottles.
So even your coffee is safe.
We haven’t had time to build a shelter, but maybe I’ll do it next time.
With this brief introduction I didn’t become a perfect bushcrafter but I had a lot of fun and I can’t wait to do it again! Will you be there too?
If you want to take part to a bushcamp to learn the art of living in the woods, don’t hesitate to contact us to help you organize your personalized experience in line with your interests, your preparation and your desire for adrenaline.
Get ready to experience YOUR personal adventure in the world!
Just click here to set up a free phone call with one of our Travel Designers.
Have fun!
